SpringCloud集成Zookeeper
前言
Github:https://github.com/HealerJean
1、Zookeeper注册中心搭建
1.1、下载
http://www.apache.org/dyn/closer.cgi/zookeeper/
1.2、启动
1、进入conf目录将 zoo_sample.cfg 改名为 zoo.cfg。
修改dataDir目录
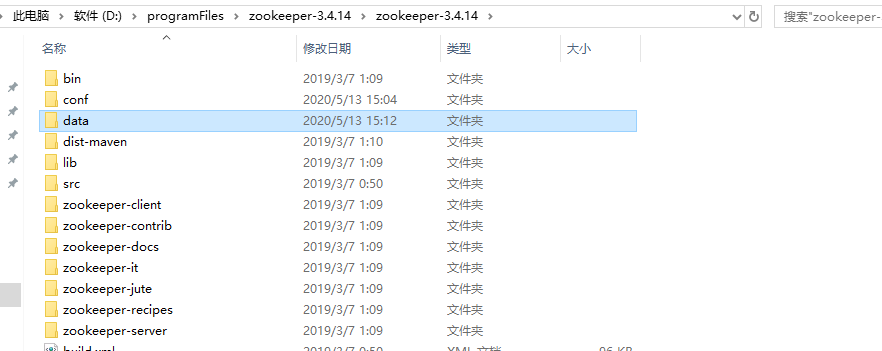
dataDir=D:\\programFiles\\zookeeper-3.4.14\\zookeeper-3.4.14\\data
2、创建文件夹data目录
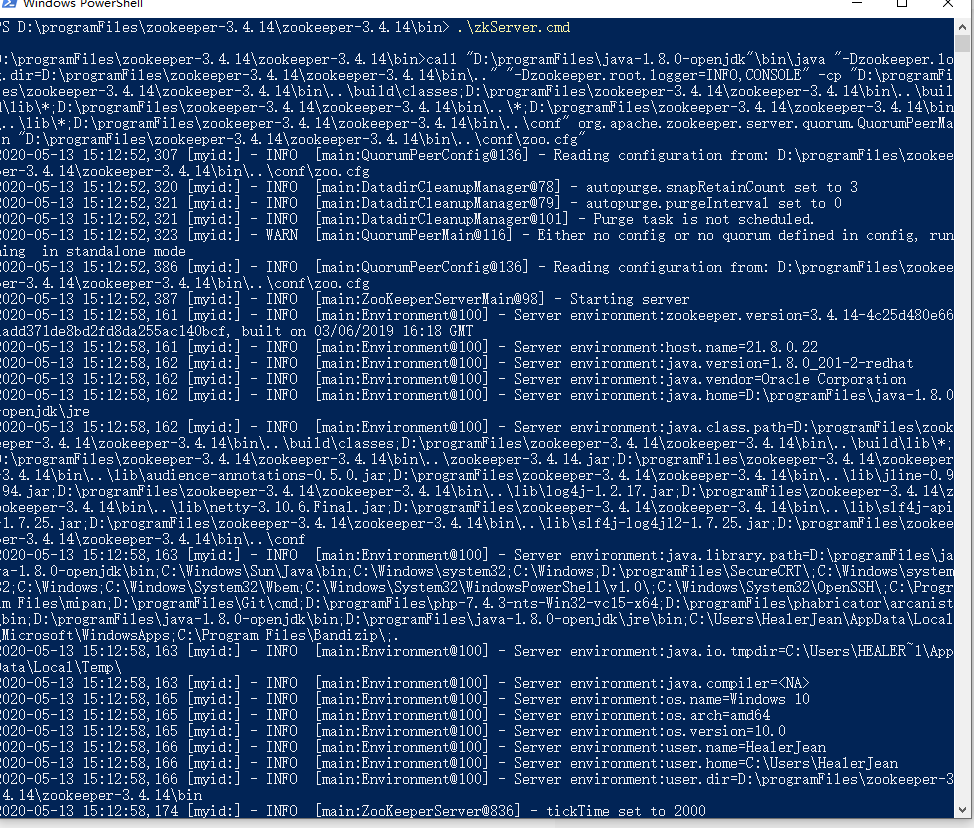
3、进入bin目录双击zkServer.cmd
2、服务提供者
2.1、pom.xml依赖
<!--zookeeper服务注册-->
<dependency>
    <groupId>org.springframework.cloud</groupId>
    <artifactId>spring-cloud-starter-zookeeper-config</artifactId>
</dependency>
<dependency>
    <groupId>org.springframework.cloud</groupId>
    <artifactId>spring-cloud-starter-zookeeper-discovery</artifactId>
</dependency>
2.2、application.properties:配置文件
spring.application.name=hlj-zookeeper-server-consumer
server.port=3001

spring.cloud.zookeeper.connectString=127.0.0.1:2181
#3spring.cloud.zookeeper.discovery.instanceHost=127.0.0.1
#spring.cloud.zookeeper.discovery.instancePort=${server.port}
2.3、启动类
//支持服务发现
@EnableDiscoveryClient
@SpringBootApplication
public class ZookeeperServerProvider_7011_Application {

    public static void main(String[] args) {
        SpringApplication.run(ZookeeperServerProvider_7011_Application.class, args);
    }

}