6、CAS自定义主题_修改默认的提示消息
前言
Github:https://github.com/HealerJean
有时候,如果一个产品对于公司来说没有自主性,那是多么可悲,凡是都要依靠他人提供的,如果一旦他人除了问题,那么我们的产品到底还能用吗。简单而言。我们要知道如果修改默认的页面。不要让产品受限。
一般有两种自定义的页面,一种是所有的客户端统一用一种页面(比如:我公司),一种是不同客户端有可能有不同的登录页面(比如: 天猫,淘宝)下面从第二种开始讲解
1、主题必备知识
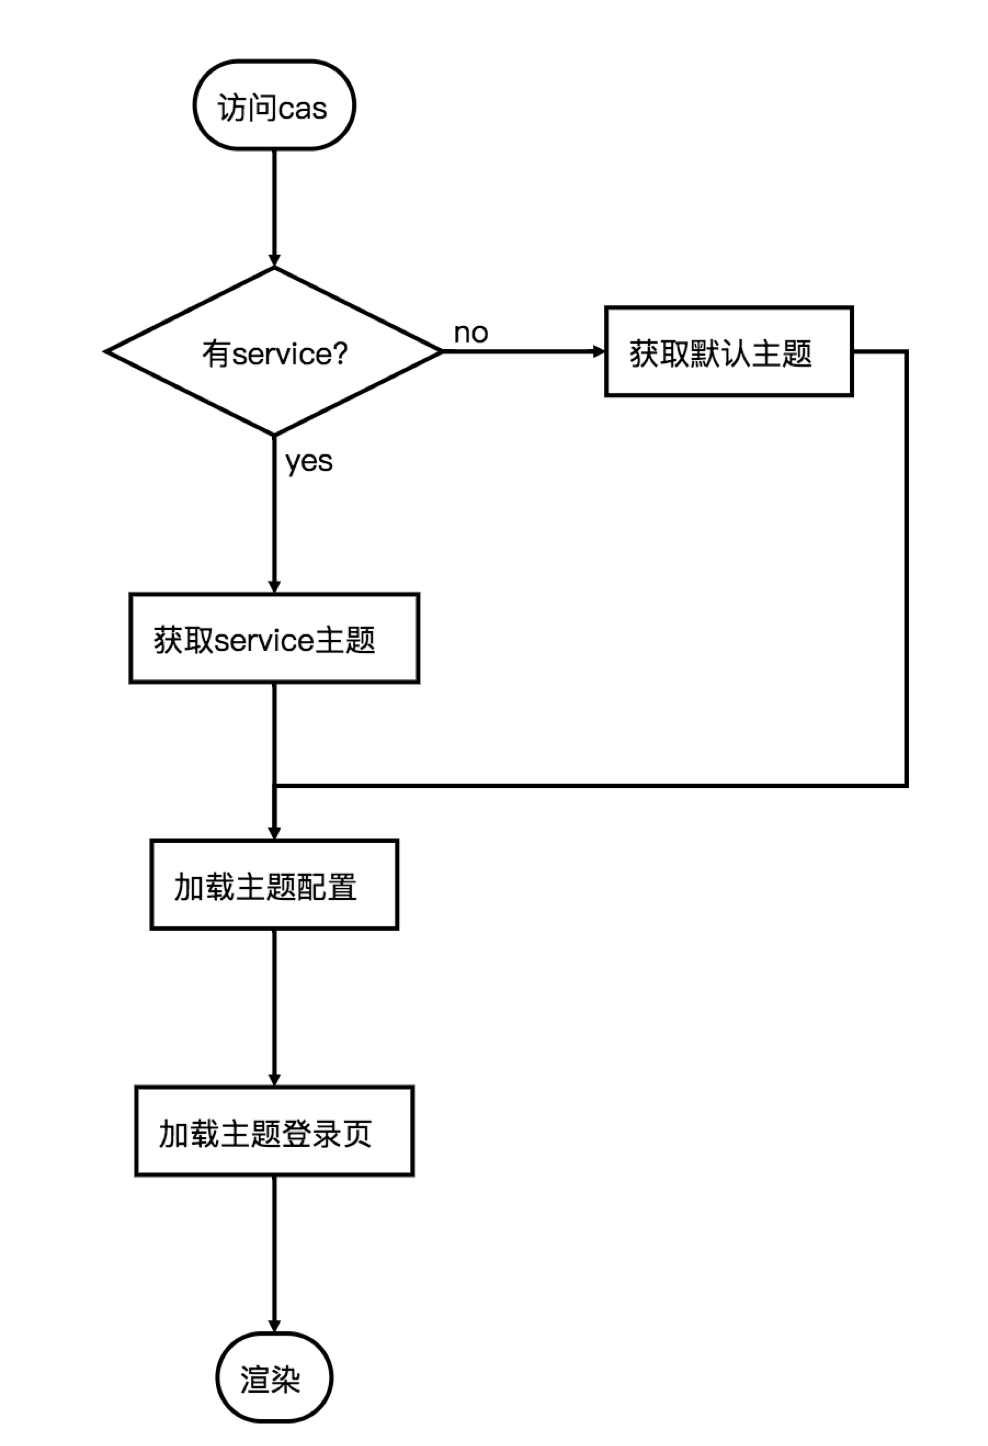
1.1、主题登录的流程
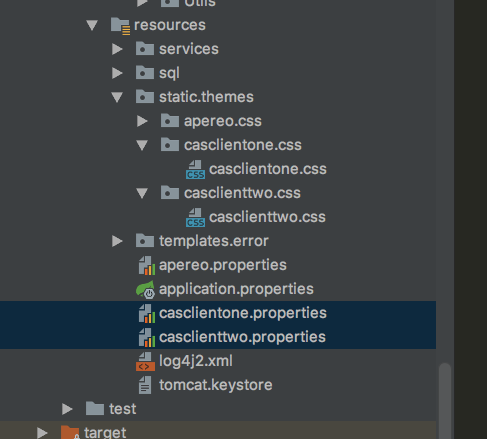
1.2、静态资源存放位置
主题:说白了也就是页面么,页面当然要用静态资源喽
1、主题配置文件存放在src/main/resources并且命名为[theme_name].properties
2、静态资源(js,css)存放目录为src/main/resources/static
3、html资源存(thymeleaf)放目录为src/main/resources/templates
4、主题页面html存放目录为src/main/resources/templates/[theme]
| 目录 | 意义 |
|---|---|
| services | 需要配置自定义登录的网站模版,用这个来匹配客户端的url,根据url生成登录模板 |
| static | 静态文件目录,用于存放js,css代码的 |
| templates | 模板代码 casLoginView.html 这个名称不可瞎改 |
| properties | 网址模板的配置信息,比如css的存放位置信息,将来通过thymeleaf直接读取 |
1.3、service的配置详解
在2_md中讲到过要实现客户端登录,需要service,但是这个service不仅仅是用来实现登录的,它与主题也有非常重要的关系,没有它,就不会有默认的主题。
| 参数 | 意义 |
|---|---|
| @class | 模版注册的类 |
| serviceId | 表示哪一个网站使用这个模板,用正则表达式匹配客户端url |
| name | 给这个模板命名 |
| id | 模板的id,建议json文件命名为 name_id 这样好区分,而且官网推荐 |
| description | 注释,就说明这个模板,或则这个网站 |
| evaluationOrder | 就是主题的顺序,这么多主题匹配,肯定是这个id越小,越先匹配 |
| theme | 主题名称,主题名称建议和网站名称一致 |
| attributeReleasePolicy | cas参数返回策略,这个大家现在配置不配置,无所谓了,不影响操操作 |
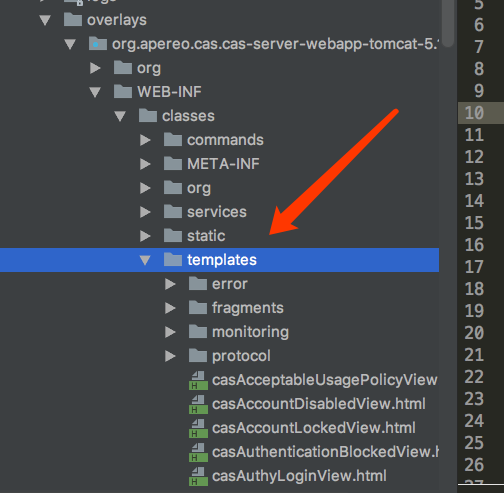
1.4、cas官方给我们提供的主题在哪里
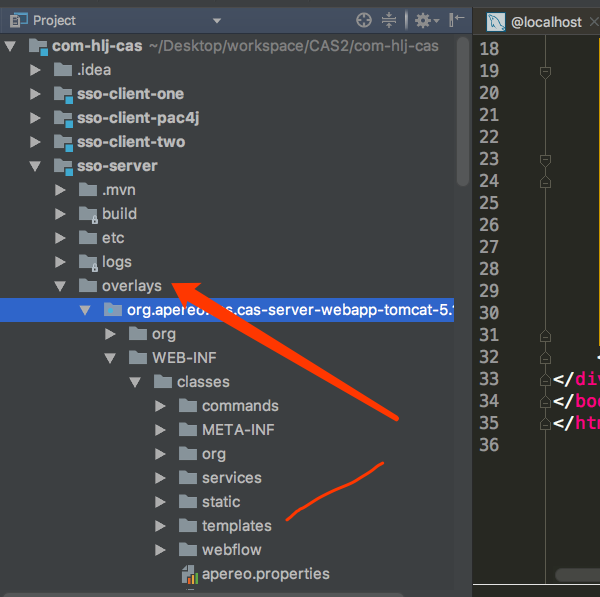
当我们的程序通过 sudo ./build.sh run ,跑起来之后。会在项目中生成一个文件夹名字叫overlays,所有关于模板以及方法全部都在这里面,通过它来提供给我们展示预览,
也就是说我们的主题修改其实就是覆盖它。
2、客户端自定义主题
2.1、service 根据url确定要选用的主题,这里非常重要
注意点:id、evaluationOrder、theme这三个配置不要和别的站点重复了
evaluationOrder 指的是匹配的顺序,你越小,就越先匹配上。也就是说先匹配有自定义主题的,没有自定义主题的也就是默认的,应该放到最后面。默认的主题order数字要大一点。
最重要的部分
这是时候想起我们之前在2_md添加客户端的时候,就已经添加了一个service(HTTPSandIMAPS-10000003.json)。那个service中虽然没有添加主题theme,但是其实这个里面已经具备主题了,也就是系统默认的apereo。当时这里的evaluationOrder,写了1、也就是说这个要第一个匹配。那么这样的话就代表,即使再创建service添加了其他客户端url的匹配,同时也创建了自定义主题。但是它不会进入自定义主题的。因为匹配规则,是先匹配到去order会先去最小的里面。也就是 opereo。
我测试的项目中有3个客户端,所以我将上面的order随机写了1000.2个客户端使用自定义的主题,第3个客户端使用系统提供的默认的主题。那么我们提供的这个默认的主题,就可以修改下上面所说的那个添加客户端所创建的service了。将这个service order写为1000。顺便将名字也改了。
下面的id和order命名一定要注意。如果有的不能成功则,变成其他的order再试试。个人建议直接以order以10以后开始命名,id也是。
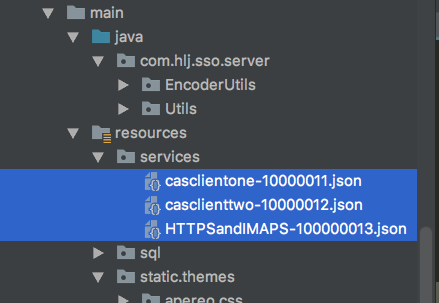
1、HTTPSandIMAPS-100000013.json
//下面theme:apereo可加可不加,因为本来就是默认的
{
  "@class" : "org.apereo.cas.services.RegexRegisteredService",
  "serviceId" : "^(https|imaps|http)://.*",
  "name" : "HTTPS and IMAPS",
  "id" : 10000013,
  "description" : "This service definition authorizes all application urls that support HTTPS and IMAPS and HTTP protocols.",
  "evaluationOrder" : 1000,
  "attributeReleasePolicy": {
    "@class": "org.apereo.cas.services.ReturnAllAttributeReleasePolicy"
  }
}
2、客户端1 casclientone :8081
{
  "@class" : "org.apereo.cas.services.RegexRegisteredService",
  "serviceId" : "^(https|imaps|http)://casclientone.*",
  "name" : "casclientone",
  "id" : 10000011,
  "description" : "客户端casclientone项目访问过来,跳转到casclientone主题",
  "evaluationOrder" : 11,
  "theme": "casclientone"
}
3、客户端2 casclienttwo :8082
{
  "@class" : "org.apereo.cas.services.RegexRegisteredService",
  "serviceId" : "^(https|imaps|http)://casclienttwo.*",
  "name" : "casclienttwo",
  "id" : 10000012,
  "description" : "客户端casclienttwo项目访问过来,跳转到casclienttwo主题",
  "evaluationOrder" :12,
  "theme": "casclienttwo"
}
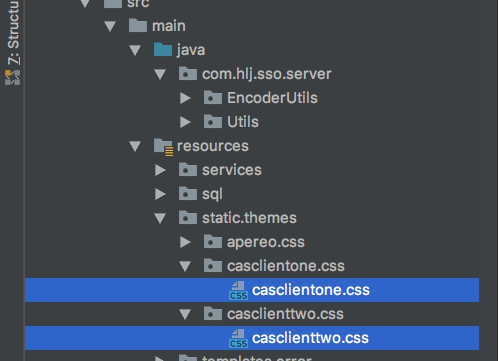
2.2、新建static,自定义主题文件夹,并添加css文件
1、casclientone.css
static/themes/casclientone/css/casclientone.css
h1 {
    color: #FF40E5;
}
2、casclienttwo.css
static/themes/casclientone/css/casclienttwo.css
h1 {
    color: #2339FF;
}
2.3、新建主题配置文件,用来给前端页面提供css文件路径,
当然文件路径也可以在模板html中自己写死,这里主要是前端使用了thymeleaf模板,可以使用变量,导入css路径等
1、casclientone.properties
casclientone.css.file=/themes/casclientone/css/casclientone.css
casclientone.pageTitle=客户端casclientone主题
2、casclienttwo.properties
casclienttwo.css.file=/themes/casclienttwo/css/casclienttwo.css
casclienttwo.pageTitle=客户端casclienttwo主题
2.4、添加模板文件吧。朋友们,名字一定是唯一的 casLoginView.html。
因为相当于是覆盖之前的,所以名字是唯一的
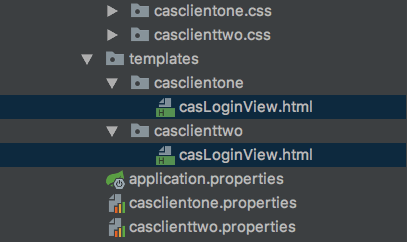
2.4.1、客户端1:casclientone的模板内容,测试完成,我会详解下面中的thymeleaf是怎么用的。客户端2.和1基本一样,只是下面的说明中有点不同
1、导入css文件 ,可以观察到下面使用的thymeleaf方言。和大工项目有点像,里面用的变量casclientone.css.file是我们在casclientone.properties中配置的,而casclientone.properties中它代表着css的地址。其实这个css地址也完全可以写死。一般我们可不就是写死么
2、标题 `<h1 th:text="${#themes.code('casclientone.pageTitle')}"></h1>
` 也是在properties中配置的名字。
<link rel="stylesheet" th:href="@{${#themes.code('casclientone.css.file')}}"/>
<!DOCTYPE html>
<html>
<head>
    <meta charset="UTF-8"/>
    <meta name="viewport" content="width=device-width, initial-scale=1"/>
    <meta http-equiv="X-UA-Compatible" content="IE=edge"/>
    <title th:text="${#themes.code('casclientone.pageTitle')}"></title>
    <link rel="stylesheet" th:href="@{${#themes.code('casclientone.css.file')}}"/>
</head>

<body>
<h1 th:text="${#themes.code('casclientone.pageTitle')}"></h1>
<div>
    <form method="post" th:object="${credential}">
        <div th:if="${#fields.hasErrors('*')}">
            <span th:each="err : ${#fields.errors('*')}" th:utext="${err}"/>
        </div>
        <h2 th:utext="#{screen.welcome.instructions}"></h2>

        <section class="row">
            <label for="username" th:utext="#{screen.welcome.label.netid}"/>
            <div th:unless="${openIdLocalId}">
                <input class="required"
                       id="username"
                       size="25"
                       tabindex="1"
                       type="text"
                       th:disabled="${guaEnabled}"
                       th:field="*{username}"
                       th:accesskey="#{screen.welcome.label.netid.accesskey}"
                       autocomplete="off"/>
            </div>
        </section>

        <section class="row">
            <label for="password" th:utext="#{screen.welcome.label.password}"/>
            <div>
                <input class="required"
                       type="password"
                       id="password"
                       size="25"
                       tabindex="2"
                       th:accesskey="#{screen.welcome.label.password.accesskey}"
                       th:field="*{password}"
                       autocomplete="off"/>
            </div>
        </section>

        <section>
            <input type="hidden" name="execution" th:value="${flowExecutionKey}"/>
            <input type="hidden" name="_eventId" value="submit"/>
            <input type="hidden" name="geolocation"/>
            <input class="btn btn-submit btn-block"
                   name="submit"
                   accesskey="l"
                   th:value="#{screen.welcome.button.login}"
                   tabindex="6"
                   type="submit"/>
        </section>
    </form>
</div>
</body>
</html>
2.5、启动开始测试,成功
sso-server 8443 sso-client-one 8001 sso-client-two 8002 sso-client-pac4j 8003
2.5.1、访问客户端1
http://casclientone:8081/clientone

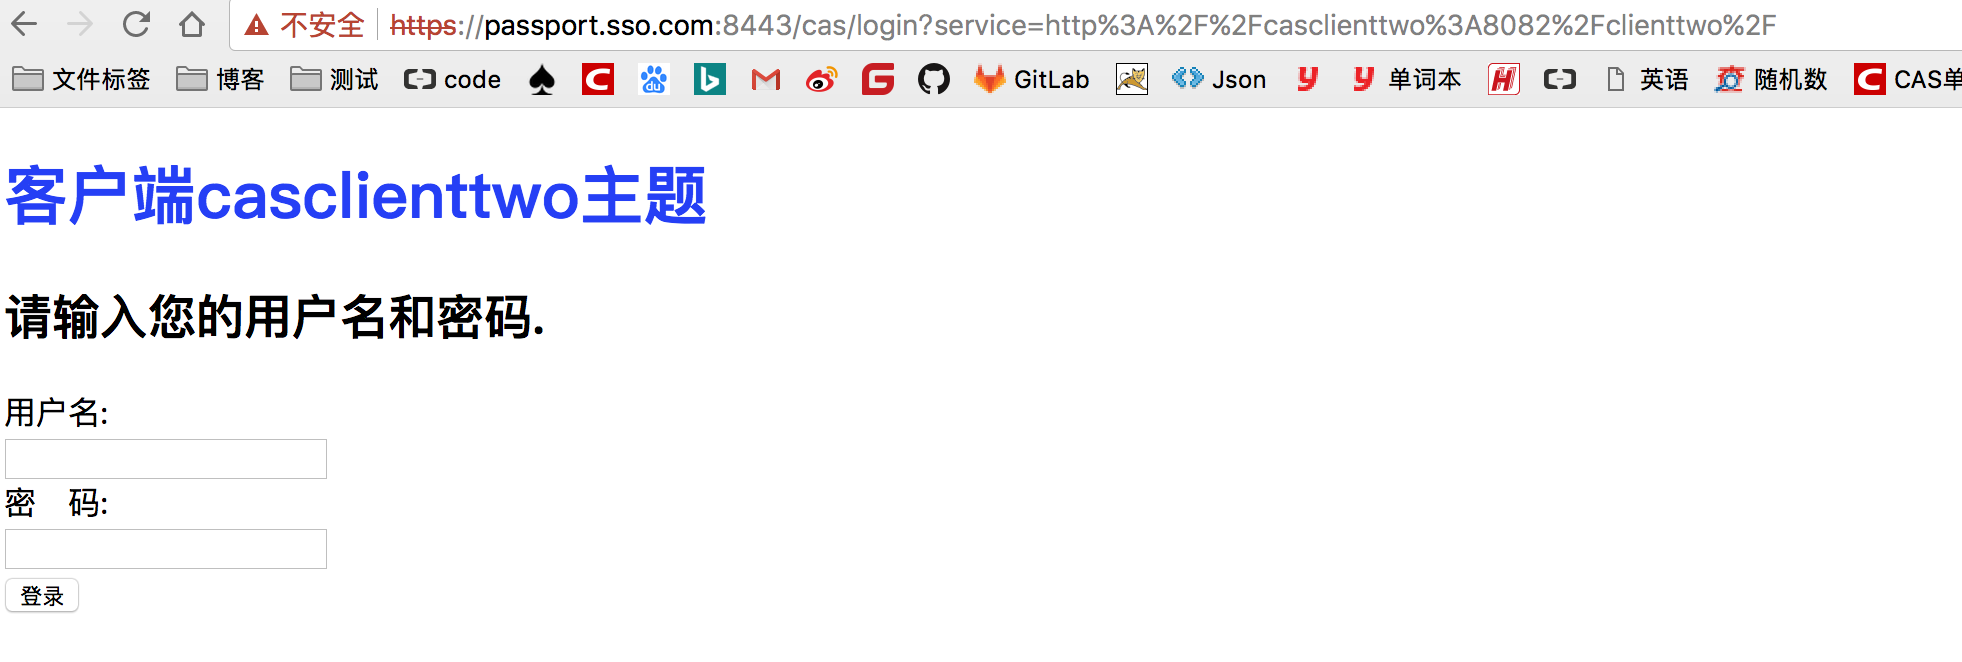
2.5.2、访问客户端2
http://casclienttwo:8082/clienttwo/
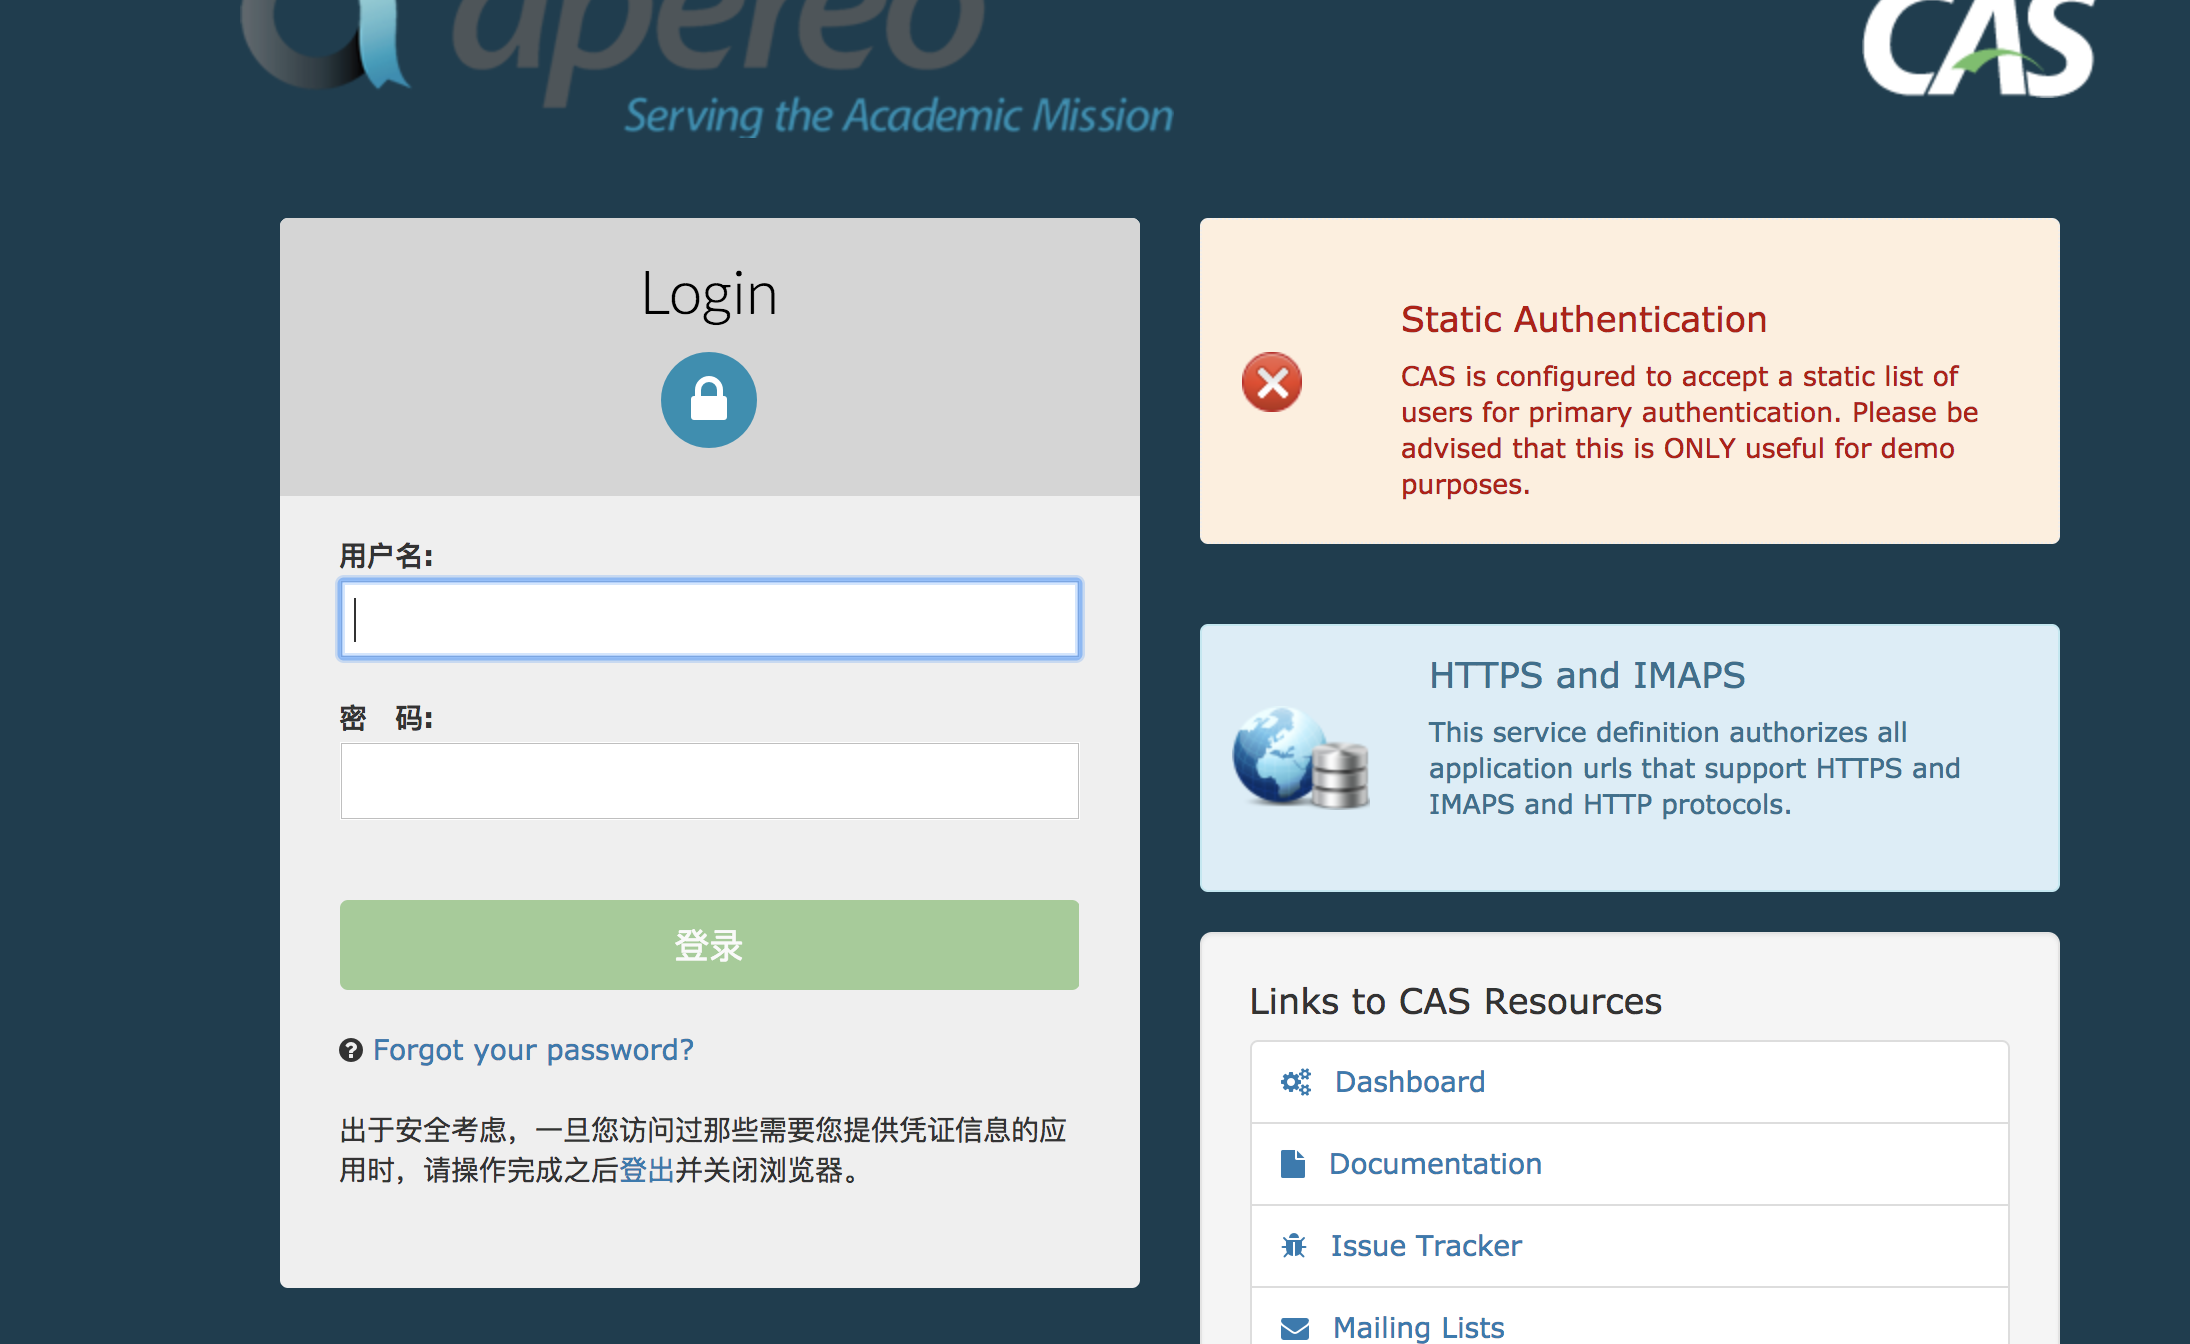
2.5.3、访问客户端3.这个没有配置自定义主题。所以还是默认的
http://casclientpac4j:8083/clientpac4j
3、自定义默认的主题
说白了就是覆盖系统提供的,所以模板名字还是原来的
理解:就是说吧系统提供的默认主题,变成我们自定义的默认的主题,这个时候,我们能够观察到,其实之前的主题名字,默认也是apereo,现在我们还是使用它
3.1、主题名字apereo
我们名字也不改了,其实也没必要改。因为谁会用cas自己提供的主题呢,除非哪个公司脑子瓦特了。
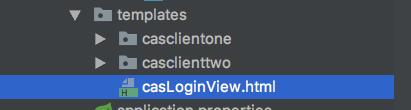
3.2、观察系统源码提供的主题html位置
1、发现这些模板直接就在templates下面
2、我们直接复制自定义主题客户端1的的模板文件 casLoginView.html ,放到本项目的templates下面,只添加一个h标签
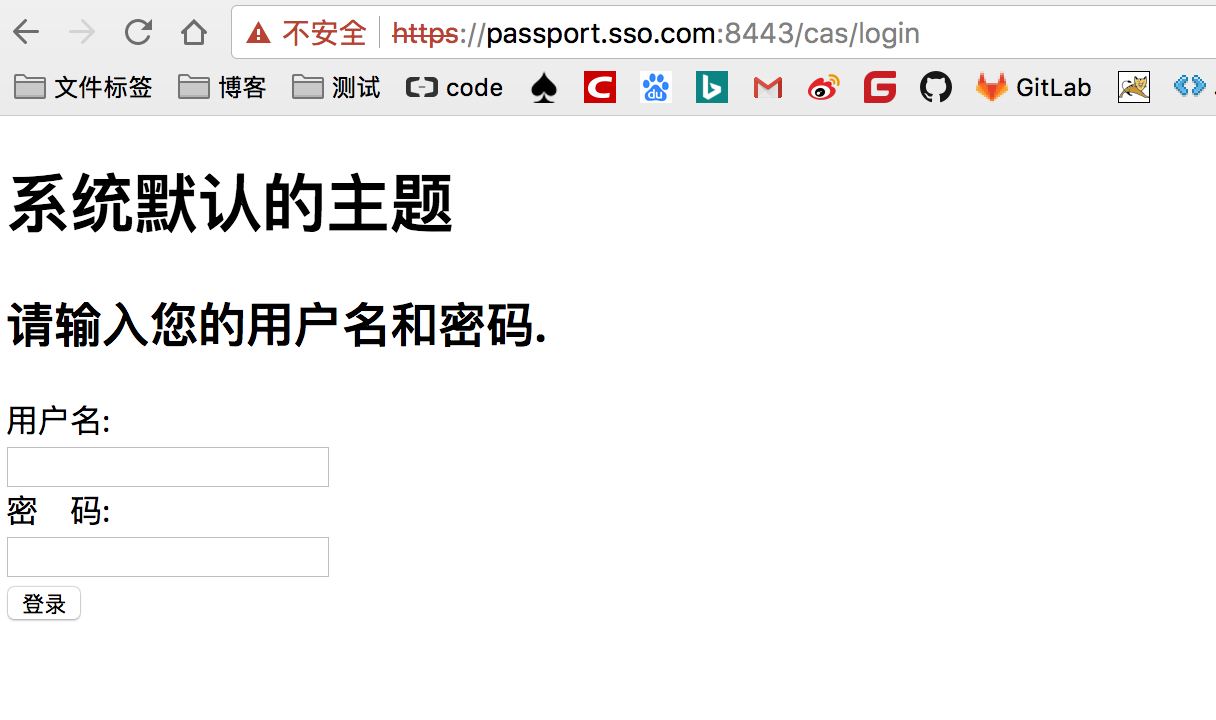
系统默认的主题
3、启动服务器。访问客户端3,或者直接访问cas/login
https://passport.sso.com:8443/cas/login
哈哈,成功了
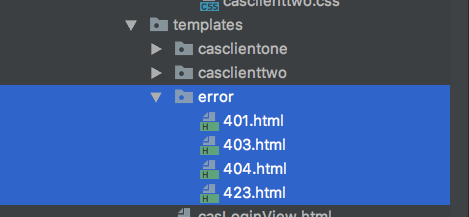
3.3、为服务端添加错误页面,也是模仿原来的做法,我直接复制了系统之前提供的主题文件夹error下来了
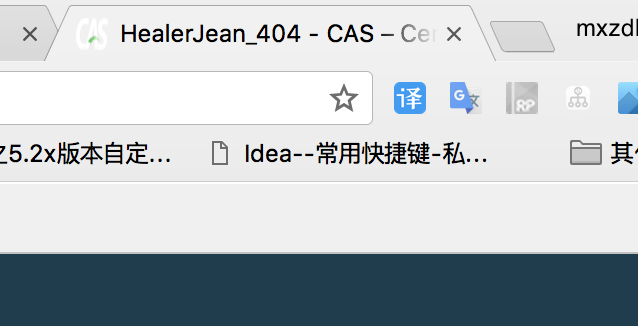
1、比如:修改了 404.html的标题标签
<title>HealerJean_404</title>
2、在登录之后,访问服务端不存在的url
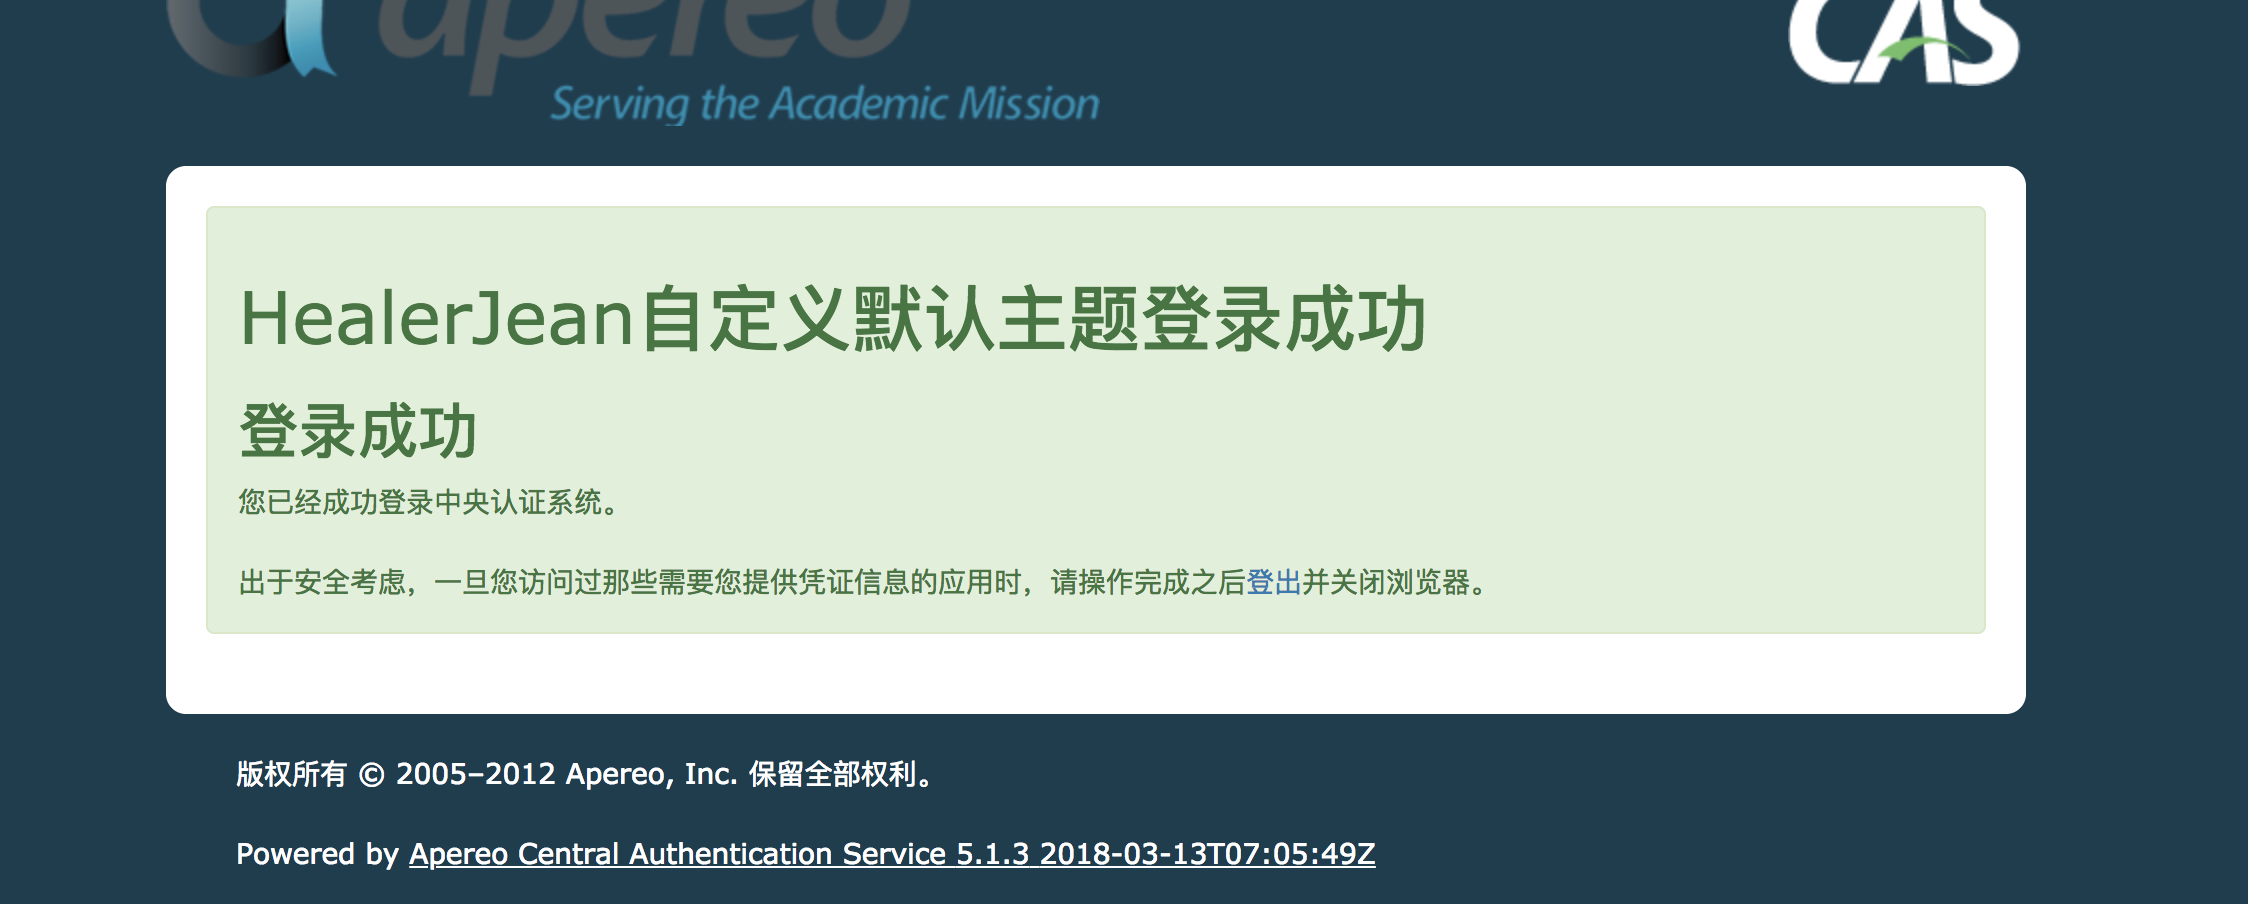
3.4、添加自定义的登录成功和注销页面,复制cas源码中的casGenericSuccessView.html 和 casLogoutView.html 放入template下面即可。然后我尝试修改了其中一点点
1、成功页面casGenericSuccessView.html
<!DOCTYPE html>
<html xmlns:layout="http://www.ultraq.net.nz/thymeleaf/layout" layout:decorate="layout">

<head>
    <title th:text="#{screen.success.header}"></title>
</head>

<body id="cas">
<div layout:fragment="content">
    <div class="alert alert-success">
        <h1>HealerJean自定义默认主题登录成功</h1>
        <h2 th:utext="#{screen.success.header}"/>
        <p th:utext="#{screen.success.success(${principal.id})}"/>
        <br>
        <p th:utext="#{screen.success.security}"/>
    </div>
</div>
</body>
</html>
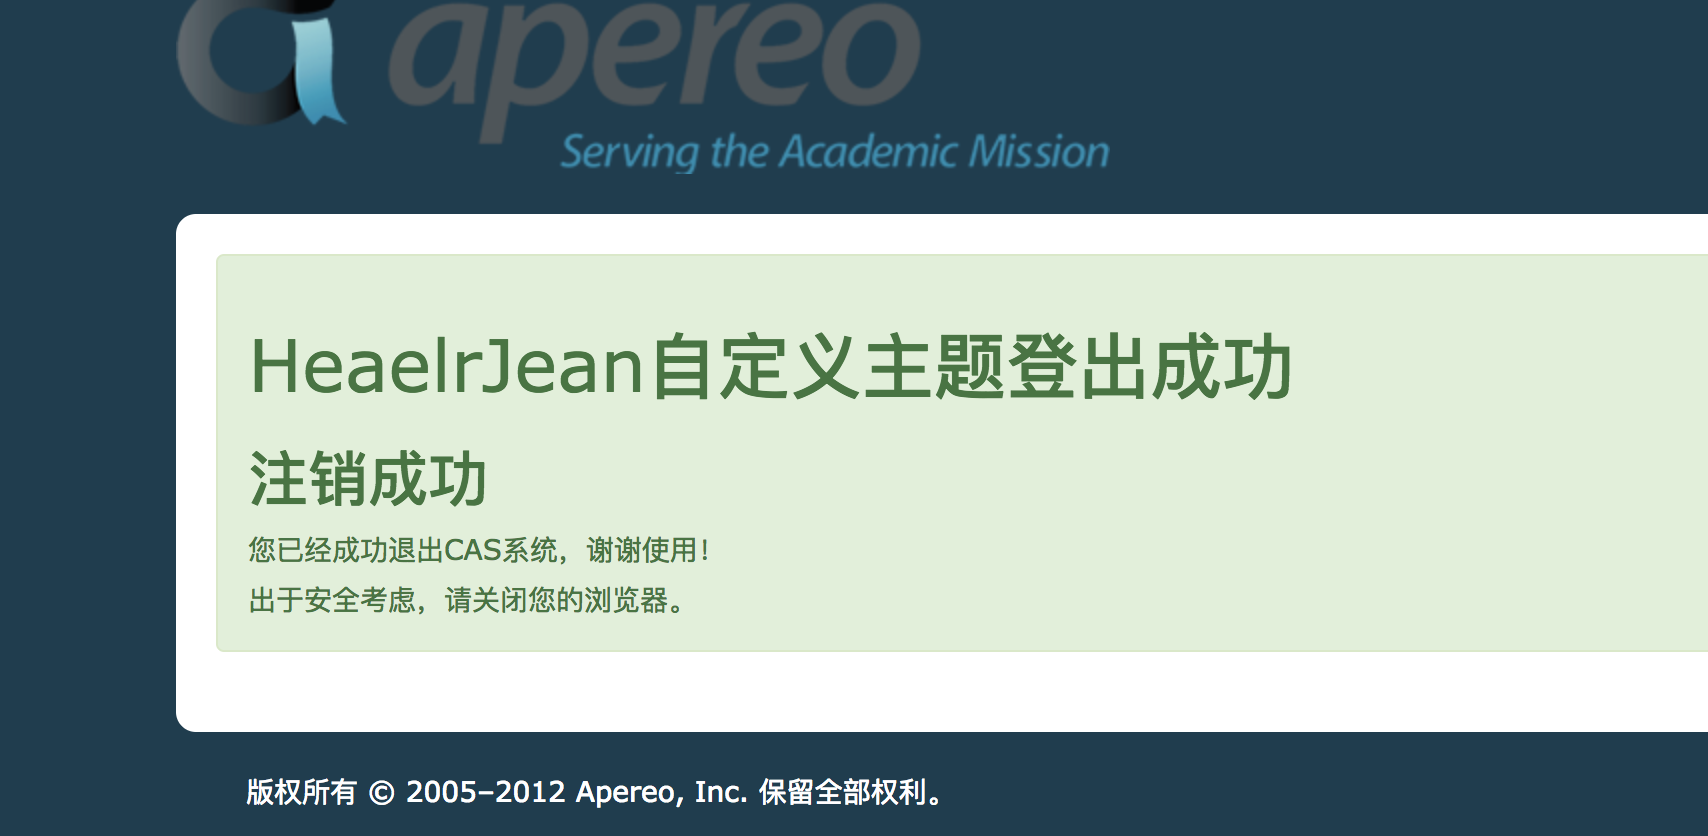
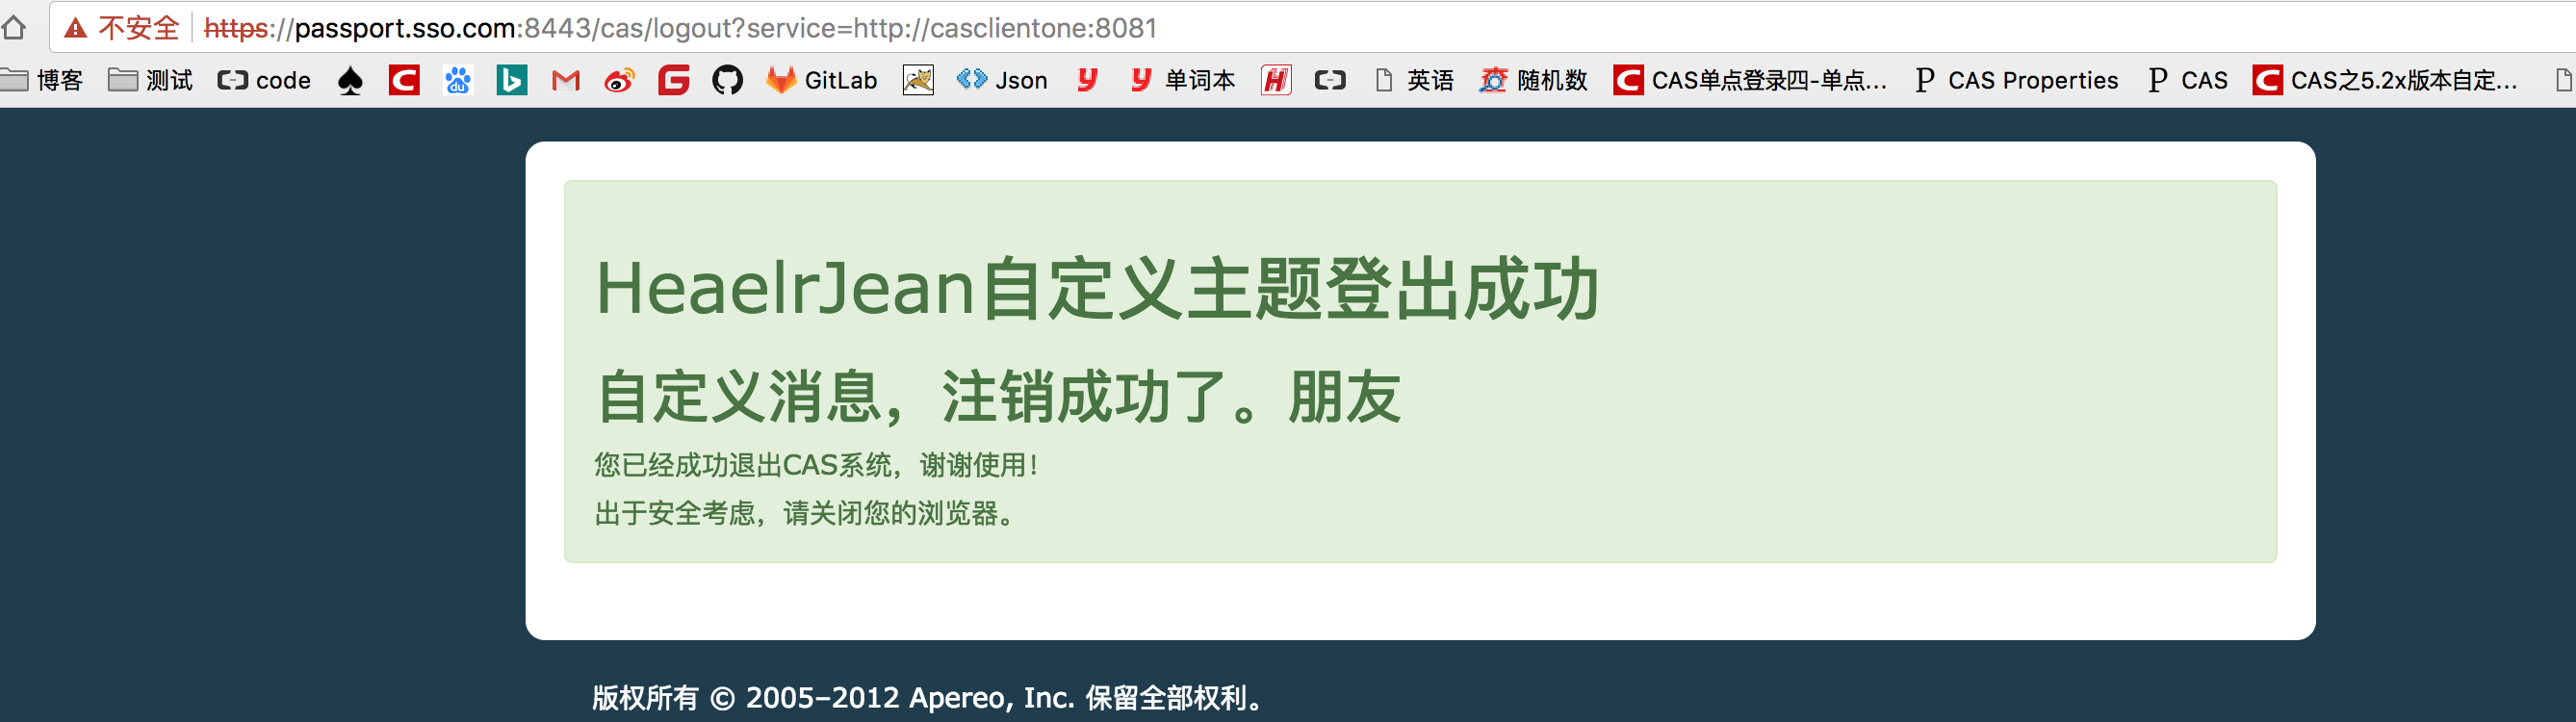
2、注销页面 casLogoutView.html
<!DOCTYPE html>
<html xmlns:layout="http://www.ultraq.net.nz/thymeleaf/layout" layout:decorate="layout">

<head>
    <title th:text="#{screen.logout.header}"></title>
</head>

<body id="cas">
<div layout:fragment="content">
      <div class="alert alert-success">
          <h1>HeaelrJean自定义主题登出成功</h1>
          <h2 th:utext="#{screen.logout.header}"/>
          <p th:utext="#{screen.logout.success}"/>
          <p th:utext="#{screen.logout.security}" />
      </div>
</div>
</body>
</html>
3.4、添加properties和css,这个时候很关键了,如果想使用我们自己提供的自定义主题配置的apereo.properties 。那就必须到service中进行将主题声明出来,这有这有才会扫描apereo.properties
1、修改之前的HTTPSandIMAPS-100000013.json service 添加主题
"theme": "apereo"
//下面theme:apereo可加可不加,因为本来就是默认的,但是如果自定义使用apereo.properties就必须配置thmee名字
{
  "@class" : "org.apereo.cas.services.RegexRegisteredService",
  "serviceId" : "^(https|imaps|http)://.*",
  "name" : "HTTPS and IMAPS",
  "id" : 10000013,
  "description" : "This service definition authorizes all application urls that support HTTPS and IMAPS and HTTP protocols.",
  "evaluationOrder" : 1000,
  "attributeReleasePolicy": {
    "@class": "org.apereo.cas.services.ReturnAllAttributeReleasePolicy"
  },
  "theme": "apereo"
}
2、sso-server配置中重新申明默认的主题
# 9、主题
# 由于第一次访问的时候会对页面进行缓存,为了防止不显示我们修改过的主题,这里设置为false
spring.thymeleaf.cache=false
##通过service中确定主题的id(这里的id其实为theme的值)
cas.theme.defaultThemeName=apereo
3、添加css文件夹,按照和之前自定义主题中的一样
h1 {
    color: yellow;
}
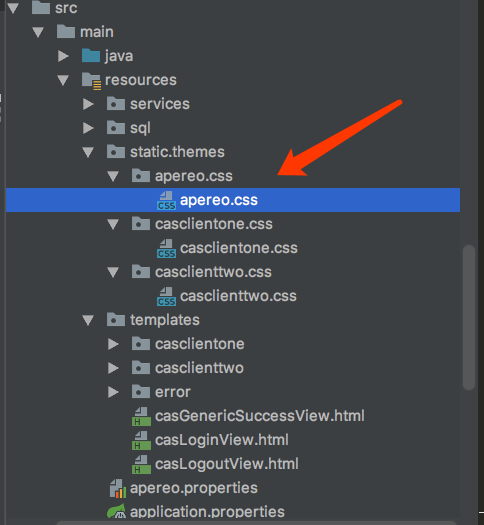
4、建立 apereo.properties 文件
apereo.css.file=/themes/apereo/css/apereo.css
apereo.pageTitle=自定义默认主题标题
5、启动测试吧,发现有了样式
通过客户端3 进行测试,没有service与客户端3匹配,会自动进入自定义默认的主题
4、修改默认的提示消息
这里说的默认的提示消息就是,上面固定的那些文字,比如登录成功,注销成功什么的。
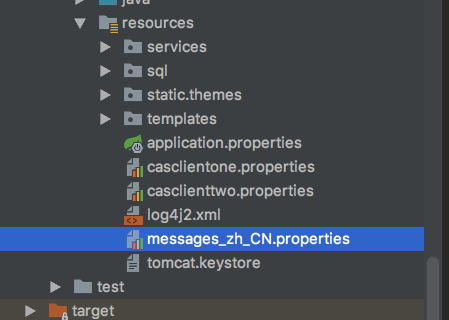
1、复制 messages_zh_CN.properties 直接到resource下面,这里测试注销的语句,修改下面的,其实就是我们上面复制的模板casLogoutView.html 中进行的thymeleaf的使用的变量
screen.logout.header=自定义消息,注销成功了。朋友
成功
4.2、添加我们自己的变量
1、设置属性
# 自定义变量设置信息
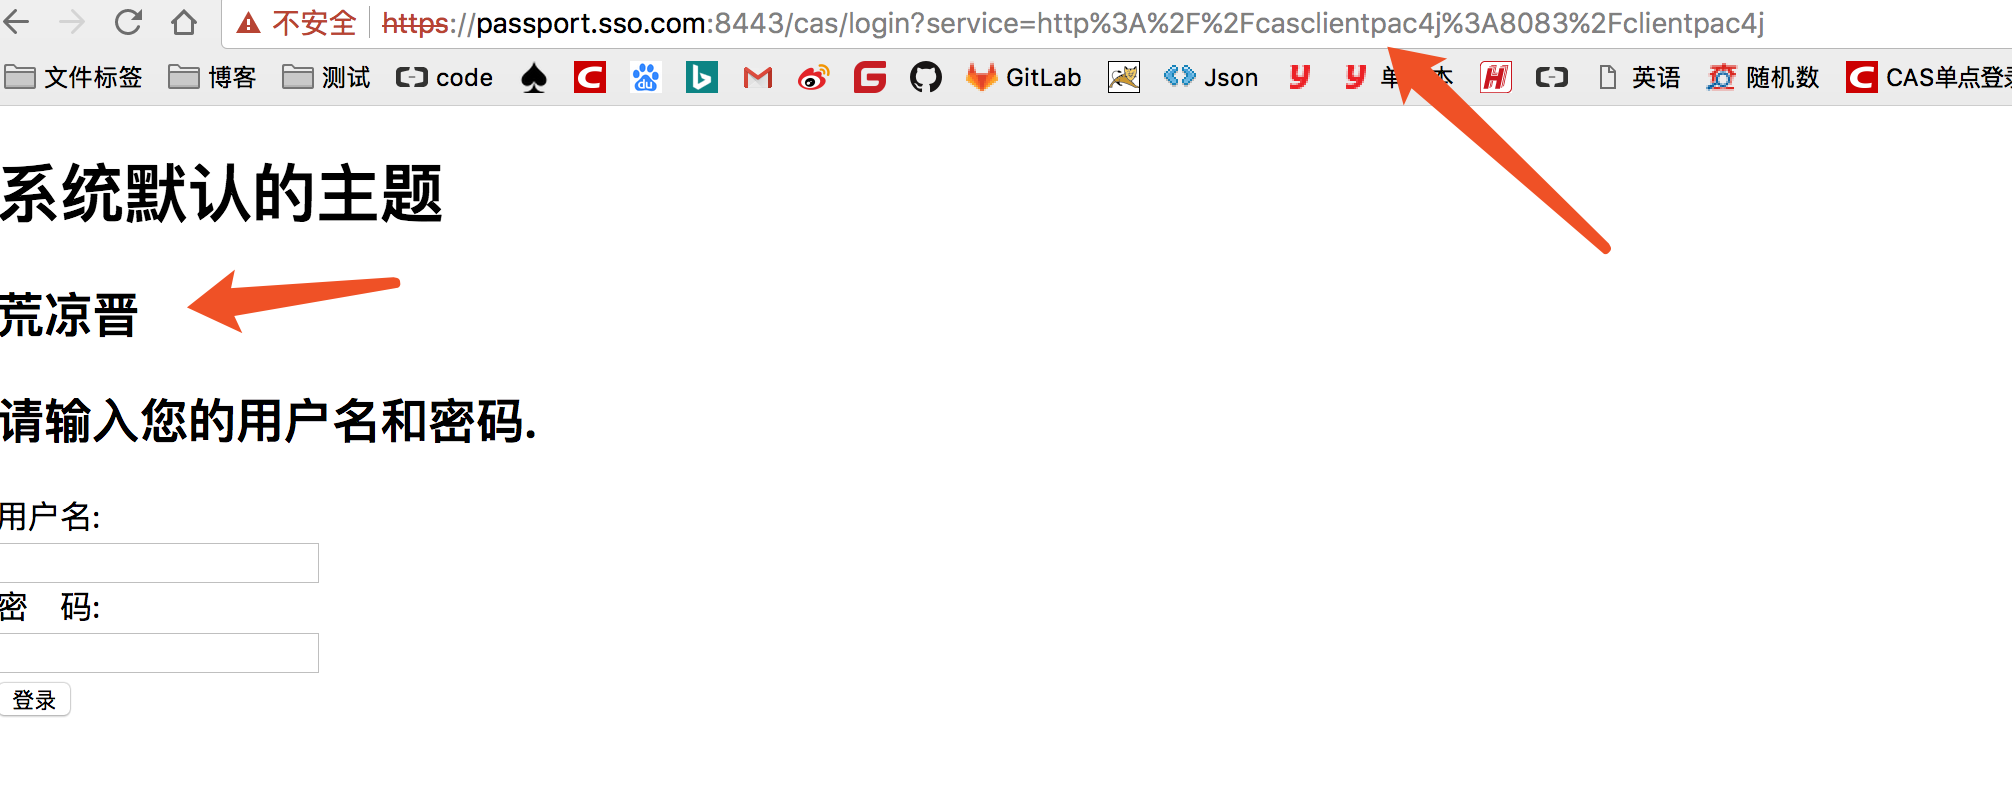
screen.heealerjean.name=荒凉晋
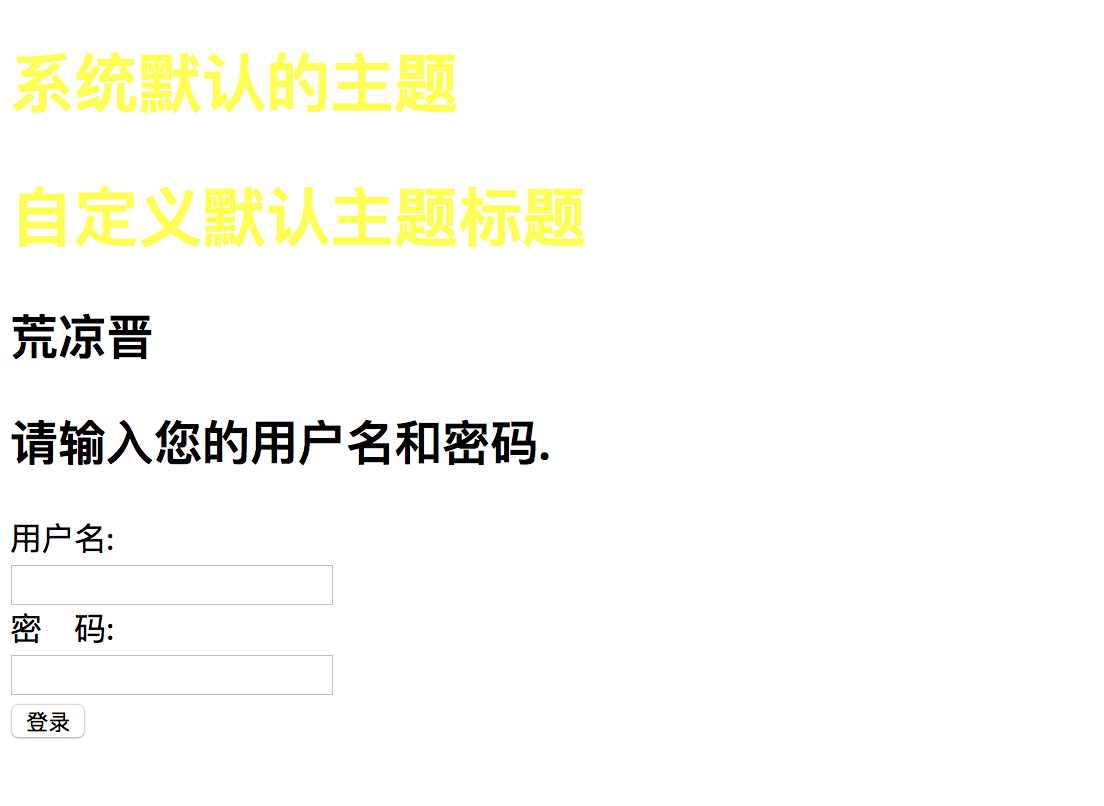
2、再自定义的默认页面模板中使用上面的变量
<body>
<h1>系统默认的主题</h1>

<h1 th:text="${#themes.code('apereo.pageTitle')}"></h1>
<h2 th:utext="#{screen.heealerjean.name}"/>

<div>
		…………………………
3、打开客户端3,使用系统的默认登录页面
http://casclientpac4j:8083/clientpac4j
4、代码下载