4、CAS第三方登录和获取详细数据
前言
Github:https://github.com/HealerJean
创建项目之前,我将客户端8081复制了一份出来,做了一个客户端two:8082。为了验证第三方登录,而又不破坏之前的项目,我新建了一个客户端工程,来用来接收第三方登录数据。目前工程端口为8083
1、总司令下新建module工程,只聚合。因为子工程是一个springBoot项目
1.1、创建项目
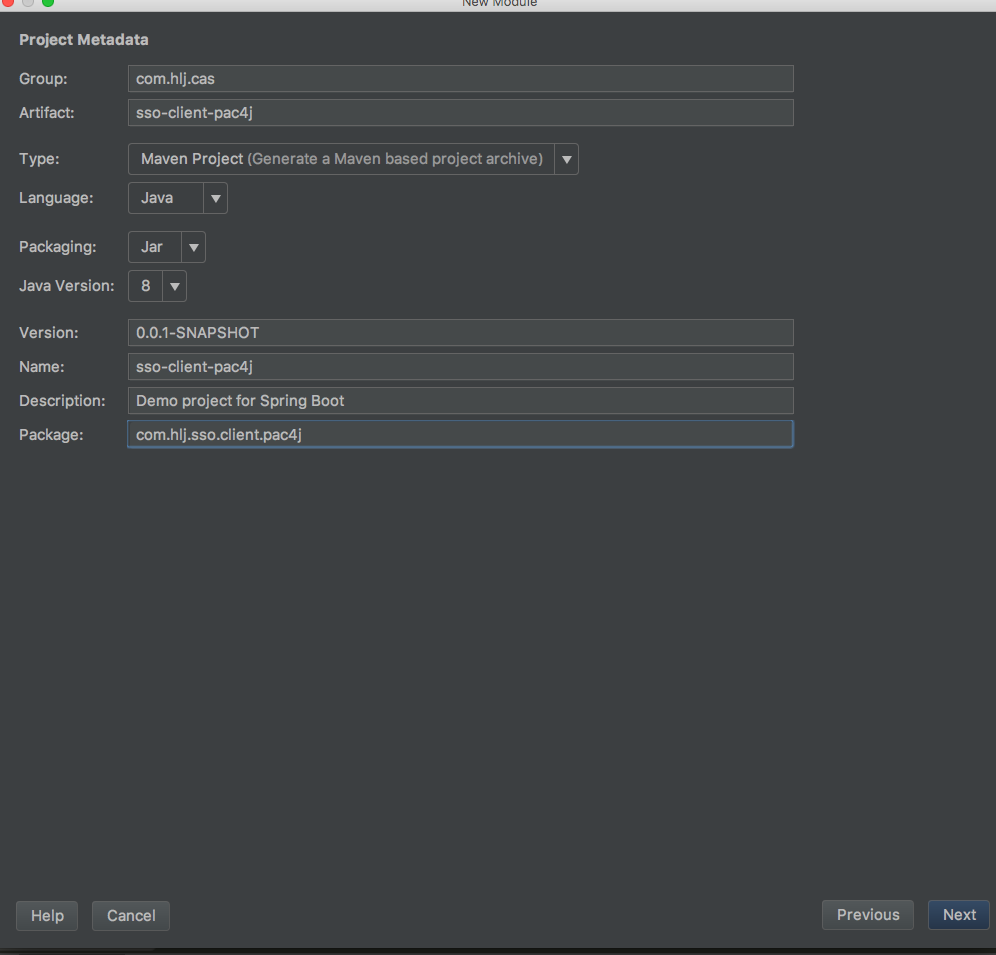
1.2、导入相关依赖
web、mysql、thyme、jpa
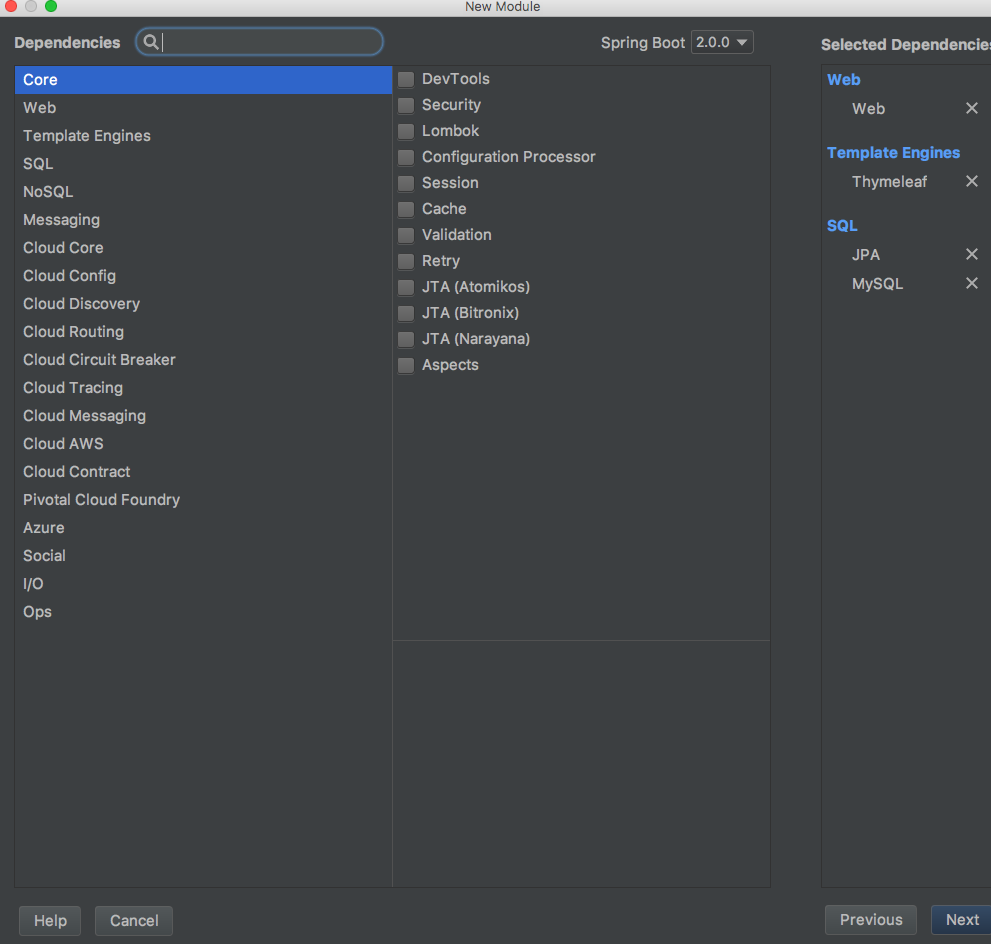
1.3、总司令进行聚合它
<modules>
    <module>sso-server</module>
    <module>sso-server-rest</module>
    <module>sso-client-one</module>
    <module>sso-client-two</module>
    <module>sso-client-pac4j</module>
</modules>
1.4、开始从前言中介绍的客户端迁入cas客户端配置、pom依赖、以及jap等相关属性
下面不讲述配置过程,端口配置为8083
1.5、host中配置这个客户端的域名为
# cas 单点登录
127.0.0.1 passport.sso.com
127.0.0.1 casClientOne
127.0.0.1 casClientTwo
127.0.0.1 casclientpac4j
1.6、测试单点登录客户端是否创建成功
启动下面,测试单点登录能否成功
sso-server-8443、
sso-server-rest-8888、
sso-client–pac4j-8083
浏览器中访问 http://casclientpac4j:8083/clientpac4j 测试成功

2、github第三方登录
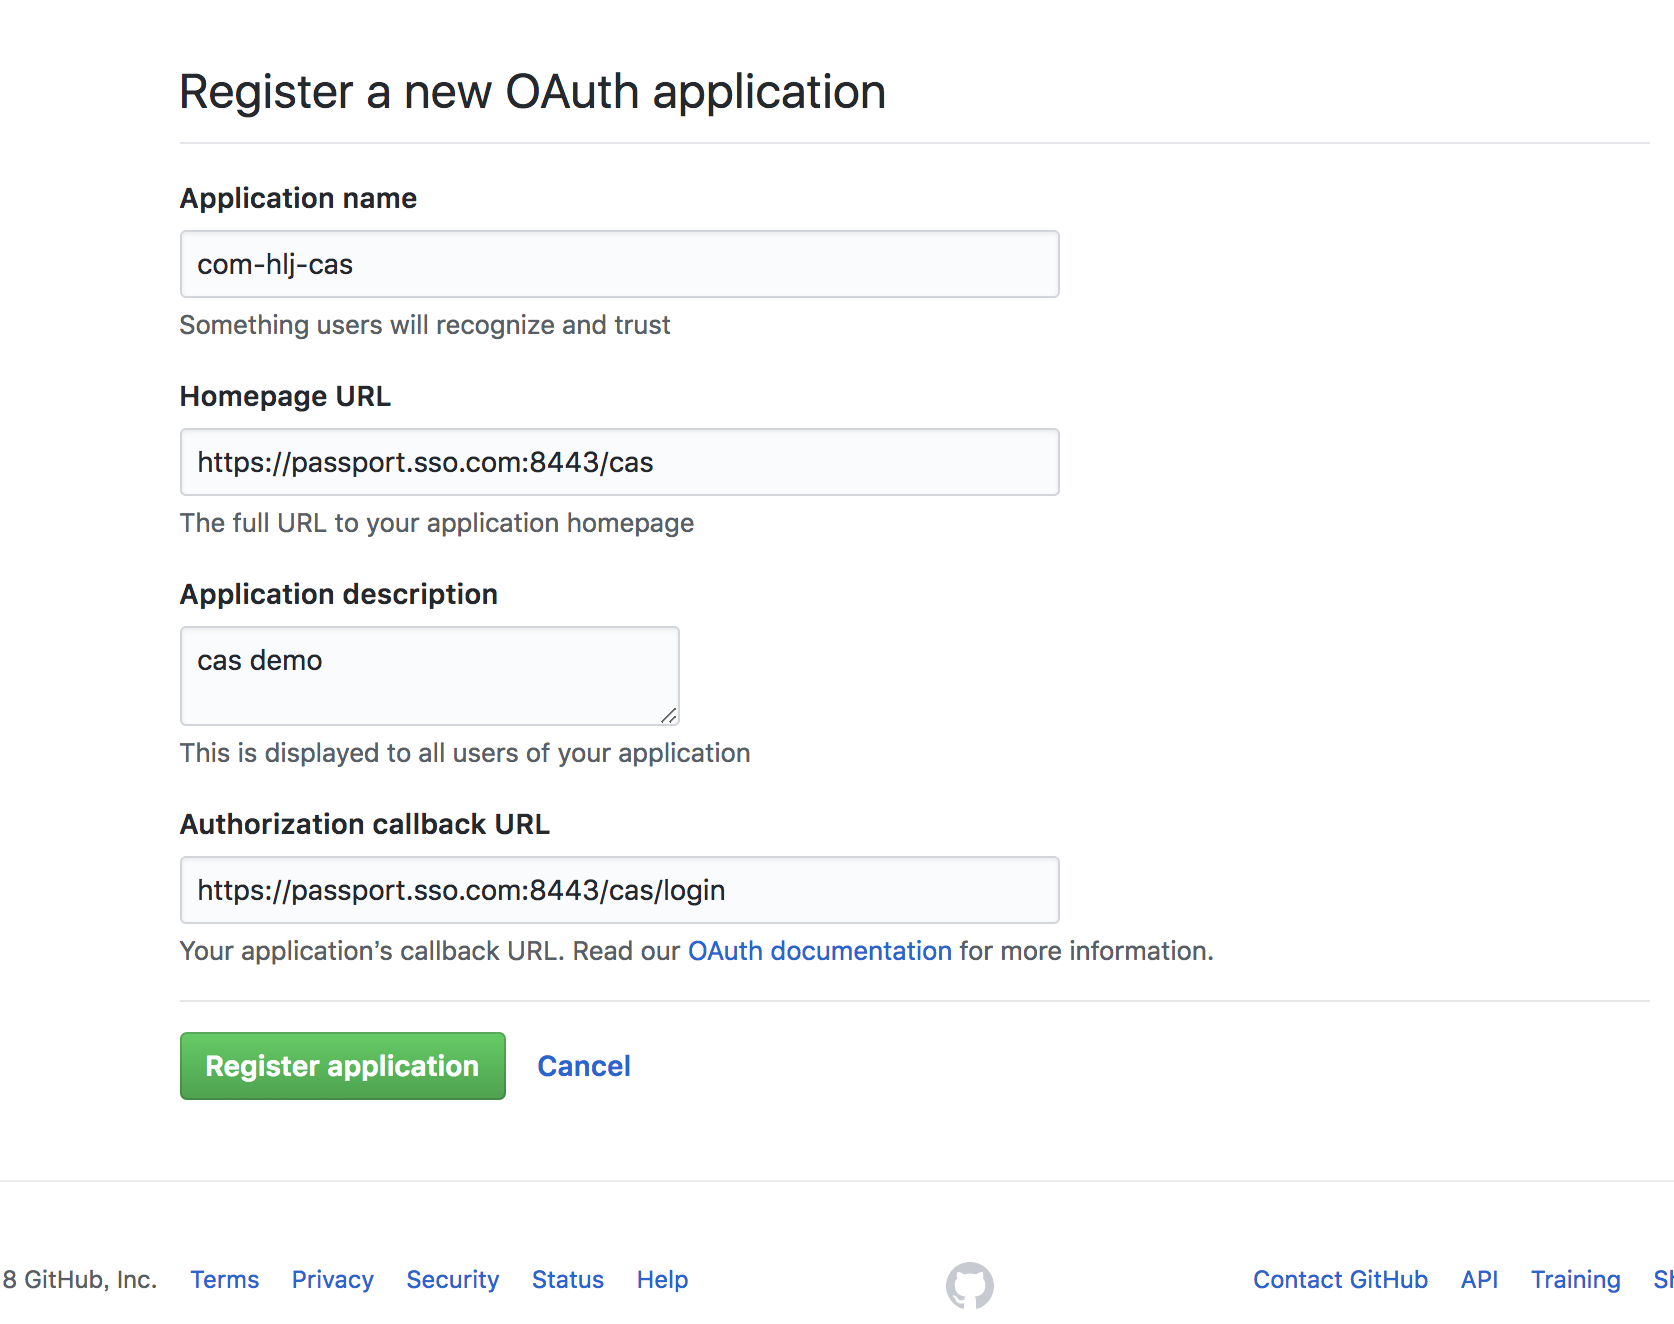
2.1、创建应用 点击打开创建应用
1、填写我们服务端的信息
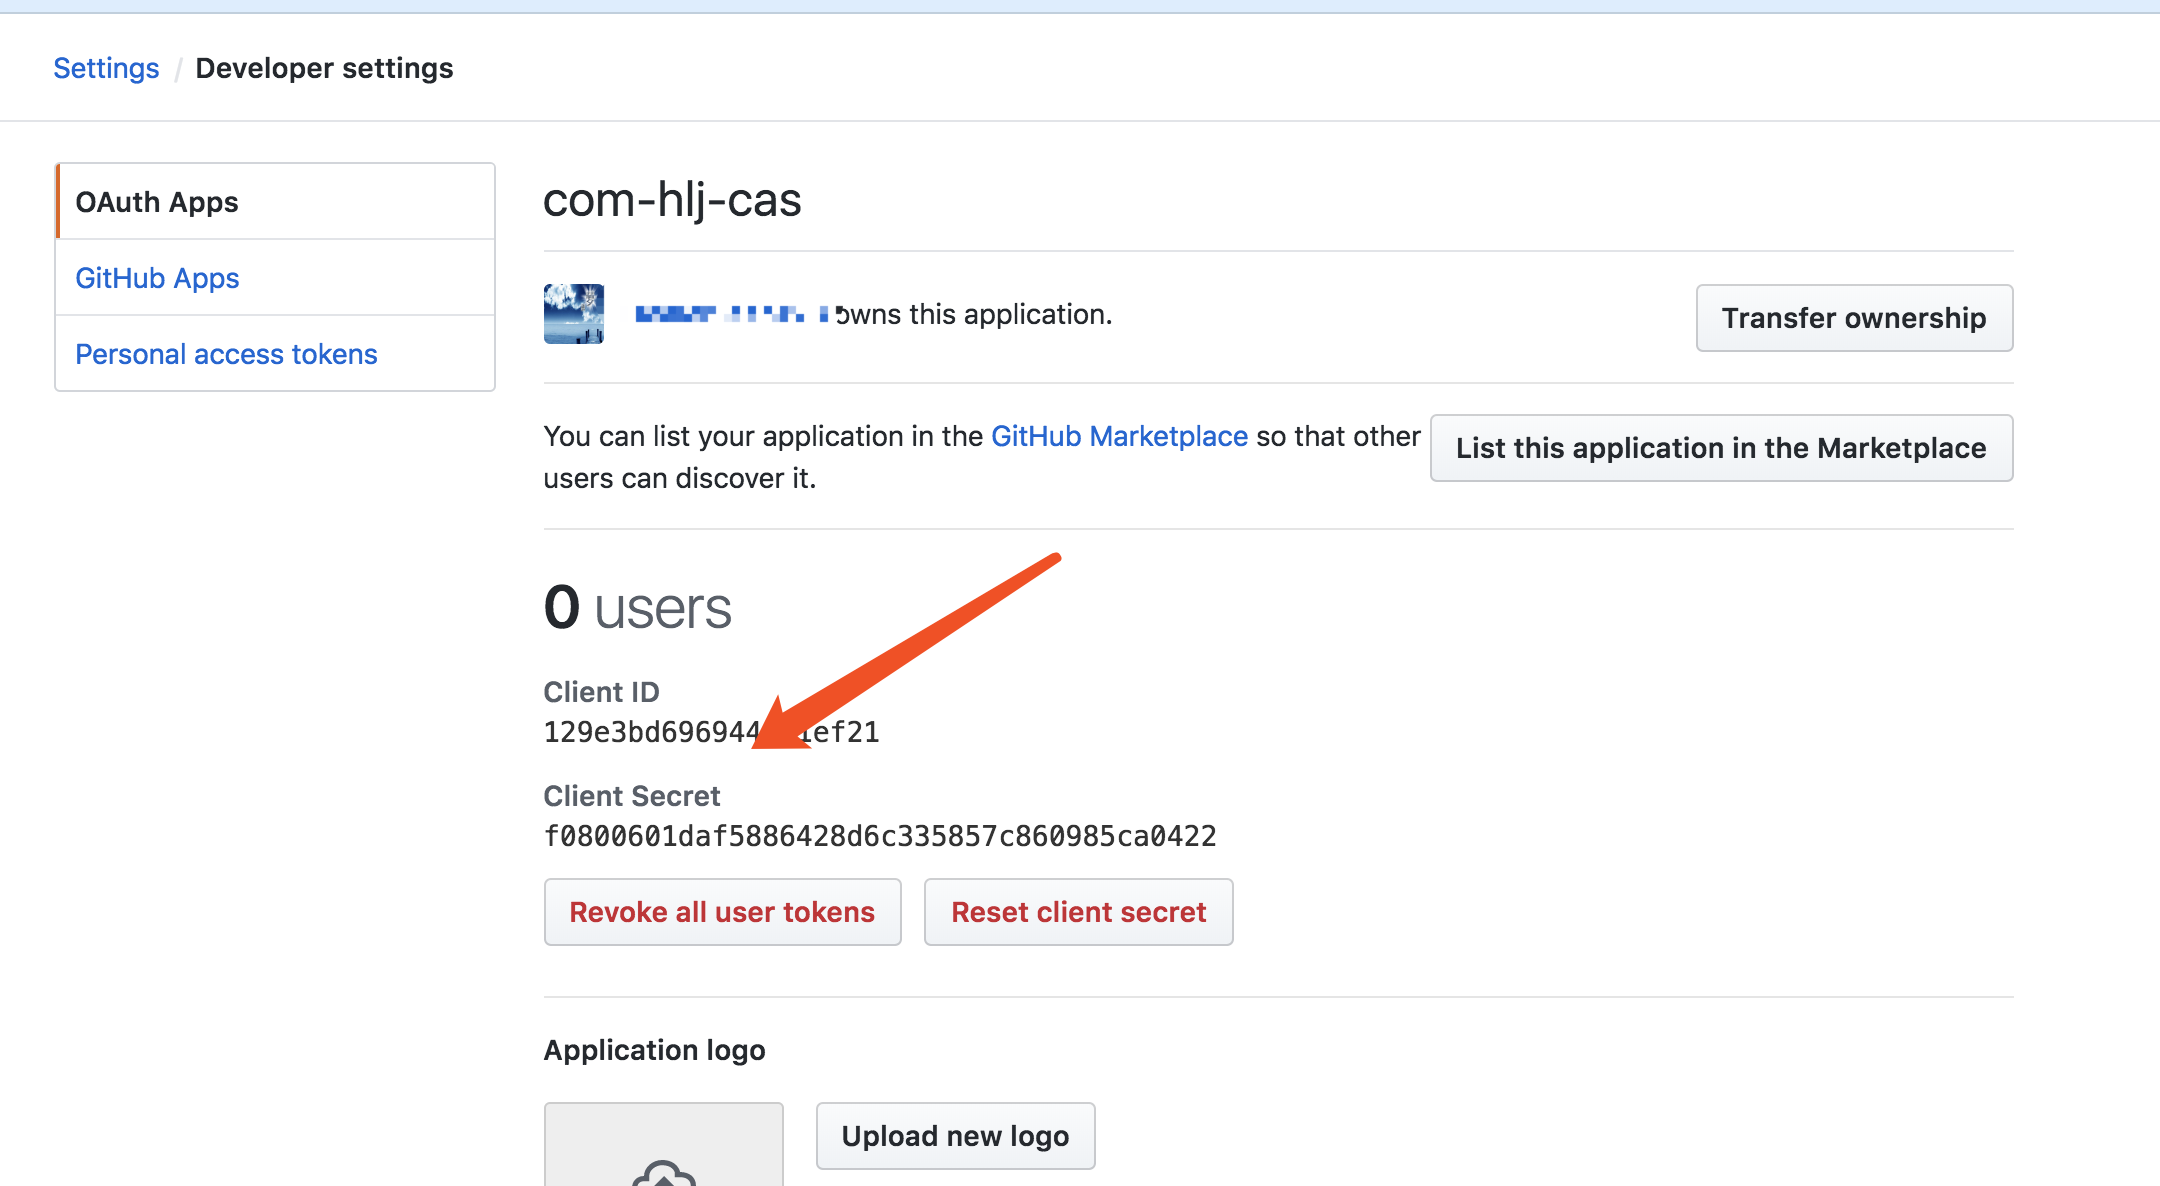
2、创建好应用之后会得到,Client ID、Client Secret。在sso-server的配置红会用到
2.2、sso-server中进行配置
# 8、第三方登录
#GitHub OAuth Login
cas.authn.pac4j.github.id=129e3bd696944c71ef21
cas.authn.pac4j.github.secret=f0800601daf5886428d6c335857c860985ca0422
cas.authn.pac4j.github.profileAttrs.id=id
cas.authn.pac4j.github.client-name=github
2.3、客户端配置接收从服务端返回来的github的信息
其实和之前在cas博客2中的接收服务端的更多信息获取方式是一样的
@GetMapping("github")
@ResponseBody
public String github(HttpServletRequest request){

    if (request.getUserPrincipal() != null) {
        AttributePrincipal principal = (AttributePrincipal) request.getUserPrincipal();

        final Map attributes = principal.getAttributes();


        if (attributes != null) {
            Iterator attributeNames = attributes.keySet().iterator();

            if (attributeNames.hasNext()) {

                for (; attributeNames.hasNext(); ) {
                    String name = (String) attributeNames.next();
                    System.out.printf("name:"+name+"::");

                    final Object attributeValue = attributes.get(name);

                    if (attributeValue instanceof List) {
                        final List values = (List) attributeValue;
                        for (Object value : values) {
                            System.out.printf("value:"+name);

                        }
                        System.out.printf("|");
                    } else {
                        System.out.printf(attributeValue.toString());
                    }
                    System.out.println("------------");
                }
            } else {
                System.out.println("No attributes are supplied by the CAS server.</p>");
            }
        } else {
            System.out.println("<pre>The attribute map is empty. Review your CAS filter configurations.</pre>");
        }
    } else {
        System.out.println("<pre>The user principal is empty from the request object. Review the wrapper filter configuration.</pre>");
    }


    String user3 = AssertionHolder.getAssertion().getPrincipal().getName();
    System.out.println("3、AssertionHolder.getAssertion().getPrincipal().getName()"+user3);

    return  "github";
}
之前rest登陆,返回的信息,通过上面的代码打印
name:address::山西忻州------------
name:isFromNewLogin::true------------
name:authenticationDate::2018-03-12T17:12:29.001+08:00[Asia/Shanghai]------------
name:authenticationMethod::RestAuthenticationHandler------------
name:successfulAuthenticationHandlers::RestAuthenticationHandler------------
name:longTermAuthenticationRequestTokenUsed::false------------
name:id::1------------
name:email::mxzdhealer@gmail.com------------
3、AssertionHolder.getAssertion().getPrincipal().getName()mxzdhealer@gmail.com
2.4、启动开始测试吧,朋友。
sso-server :8443 sso-client-pac4j 8003
1、页面上多了一个登陆的选项github
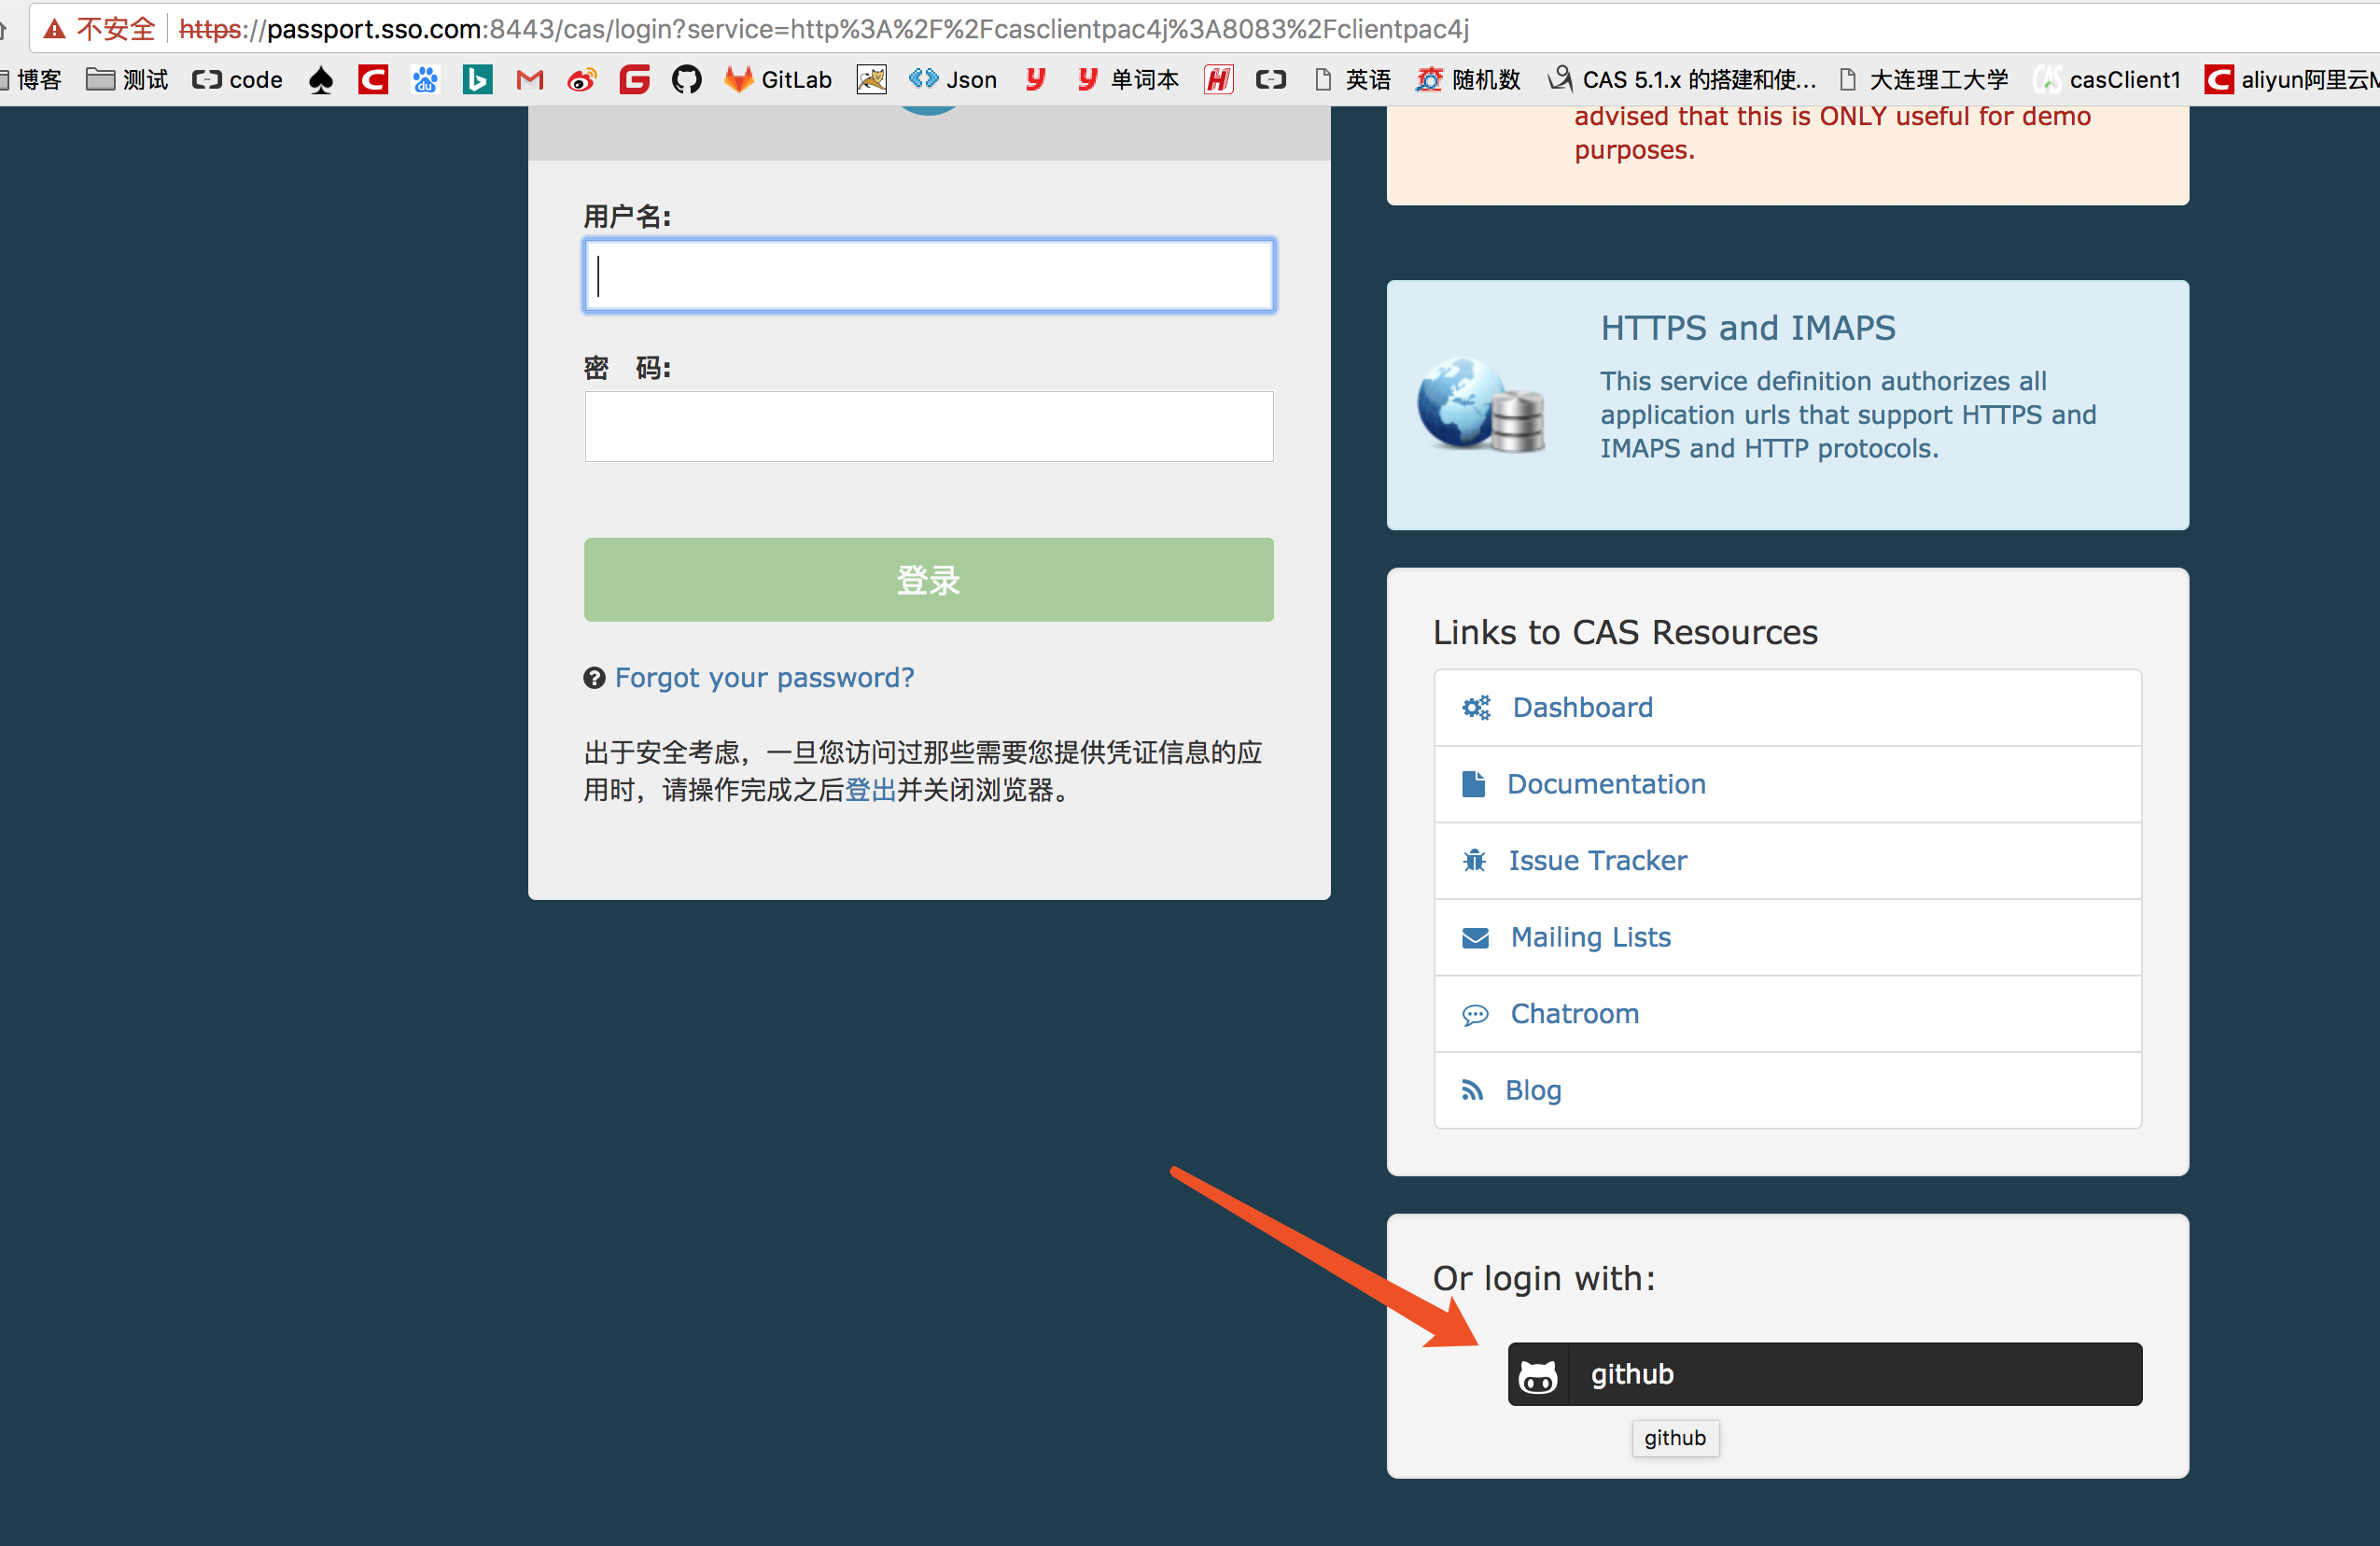
2、点击githu进行登陆
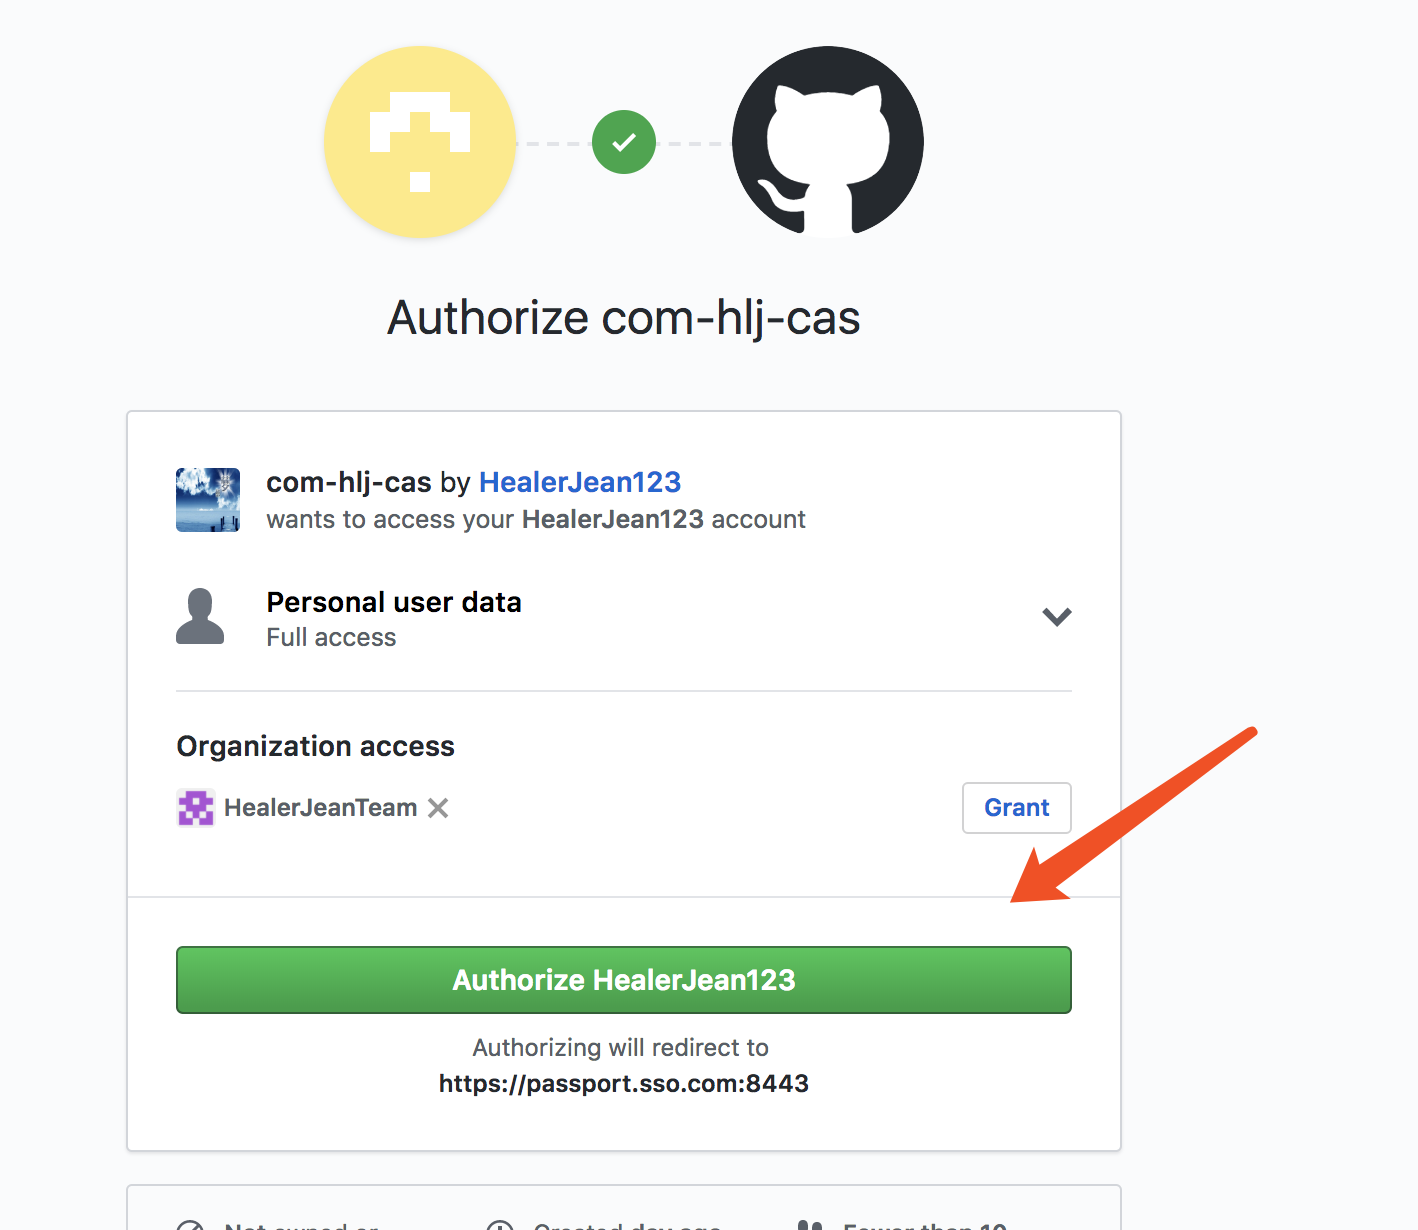
3、登陆吧,朋友,观察 客户端的控制台,看看githu登陆之后返回的东西
name:isFromNewLogin::false------------
name:authenticationDate::2018-03-12T16:59:26.747+08:00[Asia/Shanghai]------------
name:authenticationMethod::ClientAuthenticationHandler------------
name:clientName::github------------
name:successfulAuthenticationHandlers::ClientAuthenticationHandler------------
name:longTermAuthenticationRequestTokenUsed::false------------
3、AssertionHolder.getAssertion().getPrincipal().getName()26478376

3、csdn,(提示,没有登录成功,因为测试应用没有通过csdn审核,还是老外好,github多么开源)
3.1、csdn创建账号,点击接口开始创建
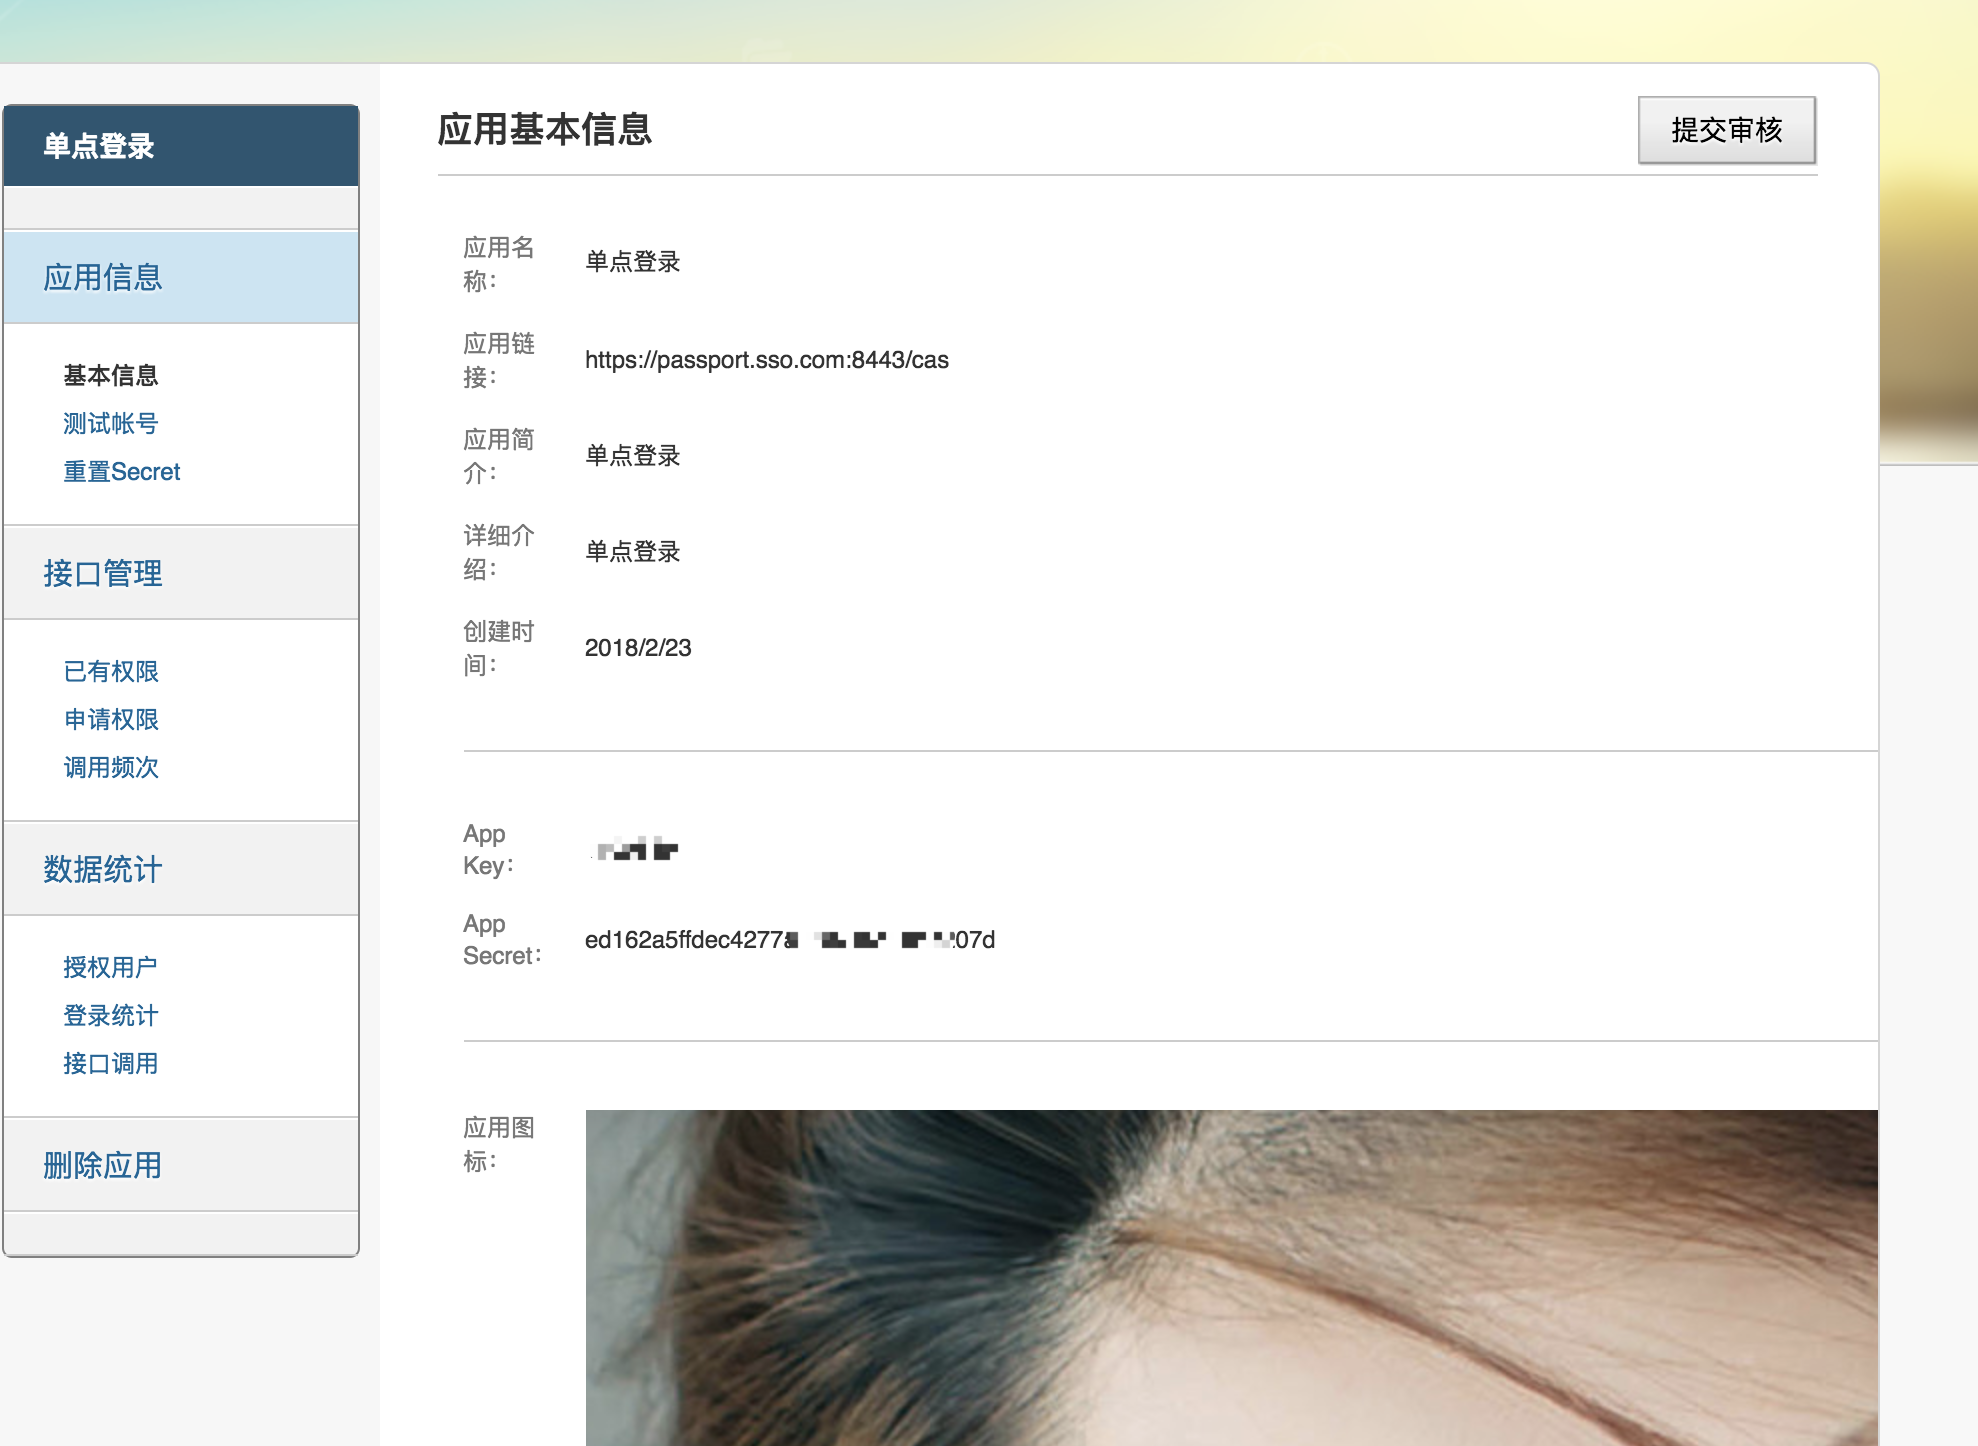
3.2、开始配置sso-server
#CSDN OAuth Login
cas.authn.pac4j.oauth2[0].id=1100649
cas.authn.pac4j.oauth2[0].secret=ed162a5ffdec4277a869715428bc207d
cas.authn.pac4j.oauth2[0].authUrl=http://api.csdn.net/oauth2/authorize
cas.authn.pac4j.oauth2[0].tokenUrl=http://api.csdn.net/oauth2/access_token
cas.authn.pac4j.oauth2[0].profileUrl=http://api.csdn.net/user/getinfo
cas.authn.pac4j.oauth2[0].profileAttrs.id=username
cas.authn.pac4j.oauth2[0].clientName=CSDN
3.3、启动服务吧,朋友们
sso-server 8443 sso-client-pac4j 8003
1、登录页面

2、提示应用未通过审核,所以没有通过审核
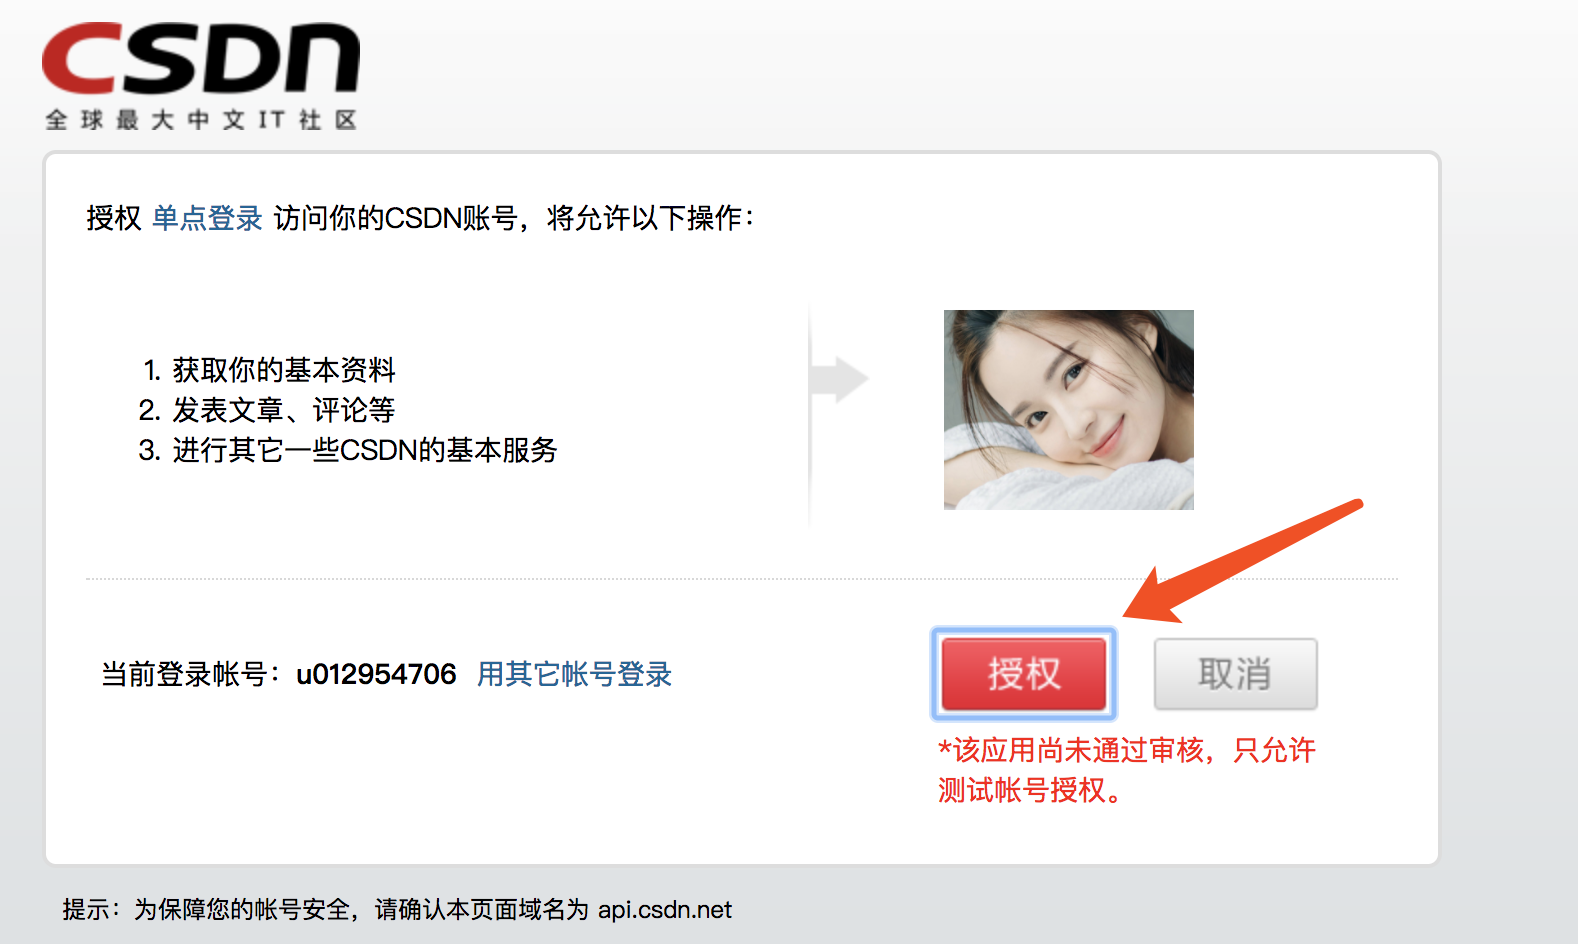
4、第三方国内的太恶心了。都需要经过审核。对于QQ和其他的应用。更加麻烦。所以 这里就不讲述了,所以建议公司使用的伙伴们自己研究下吧
……………………
5、代码下载


